CHOCOLATE! PEANUT BUTTAH!!
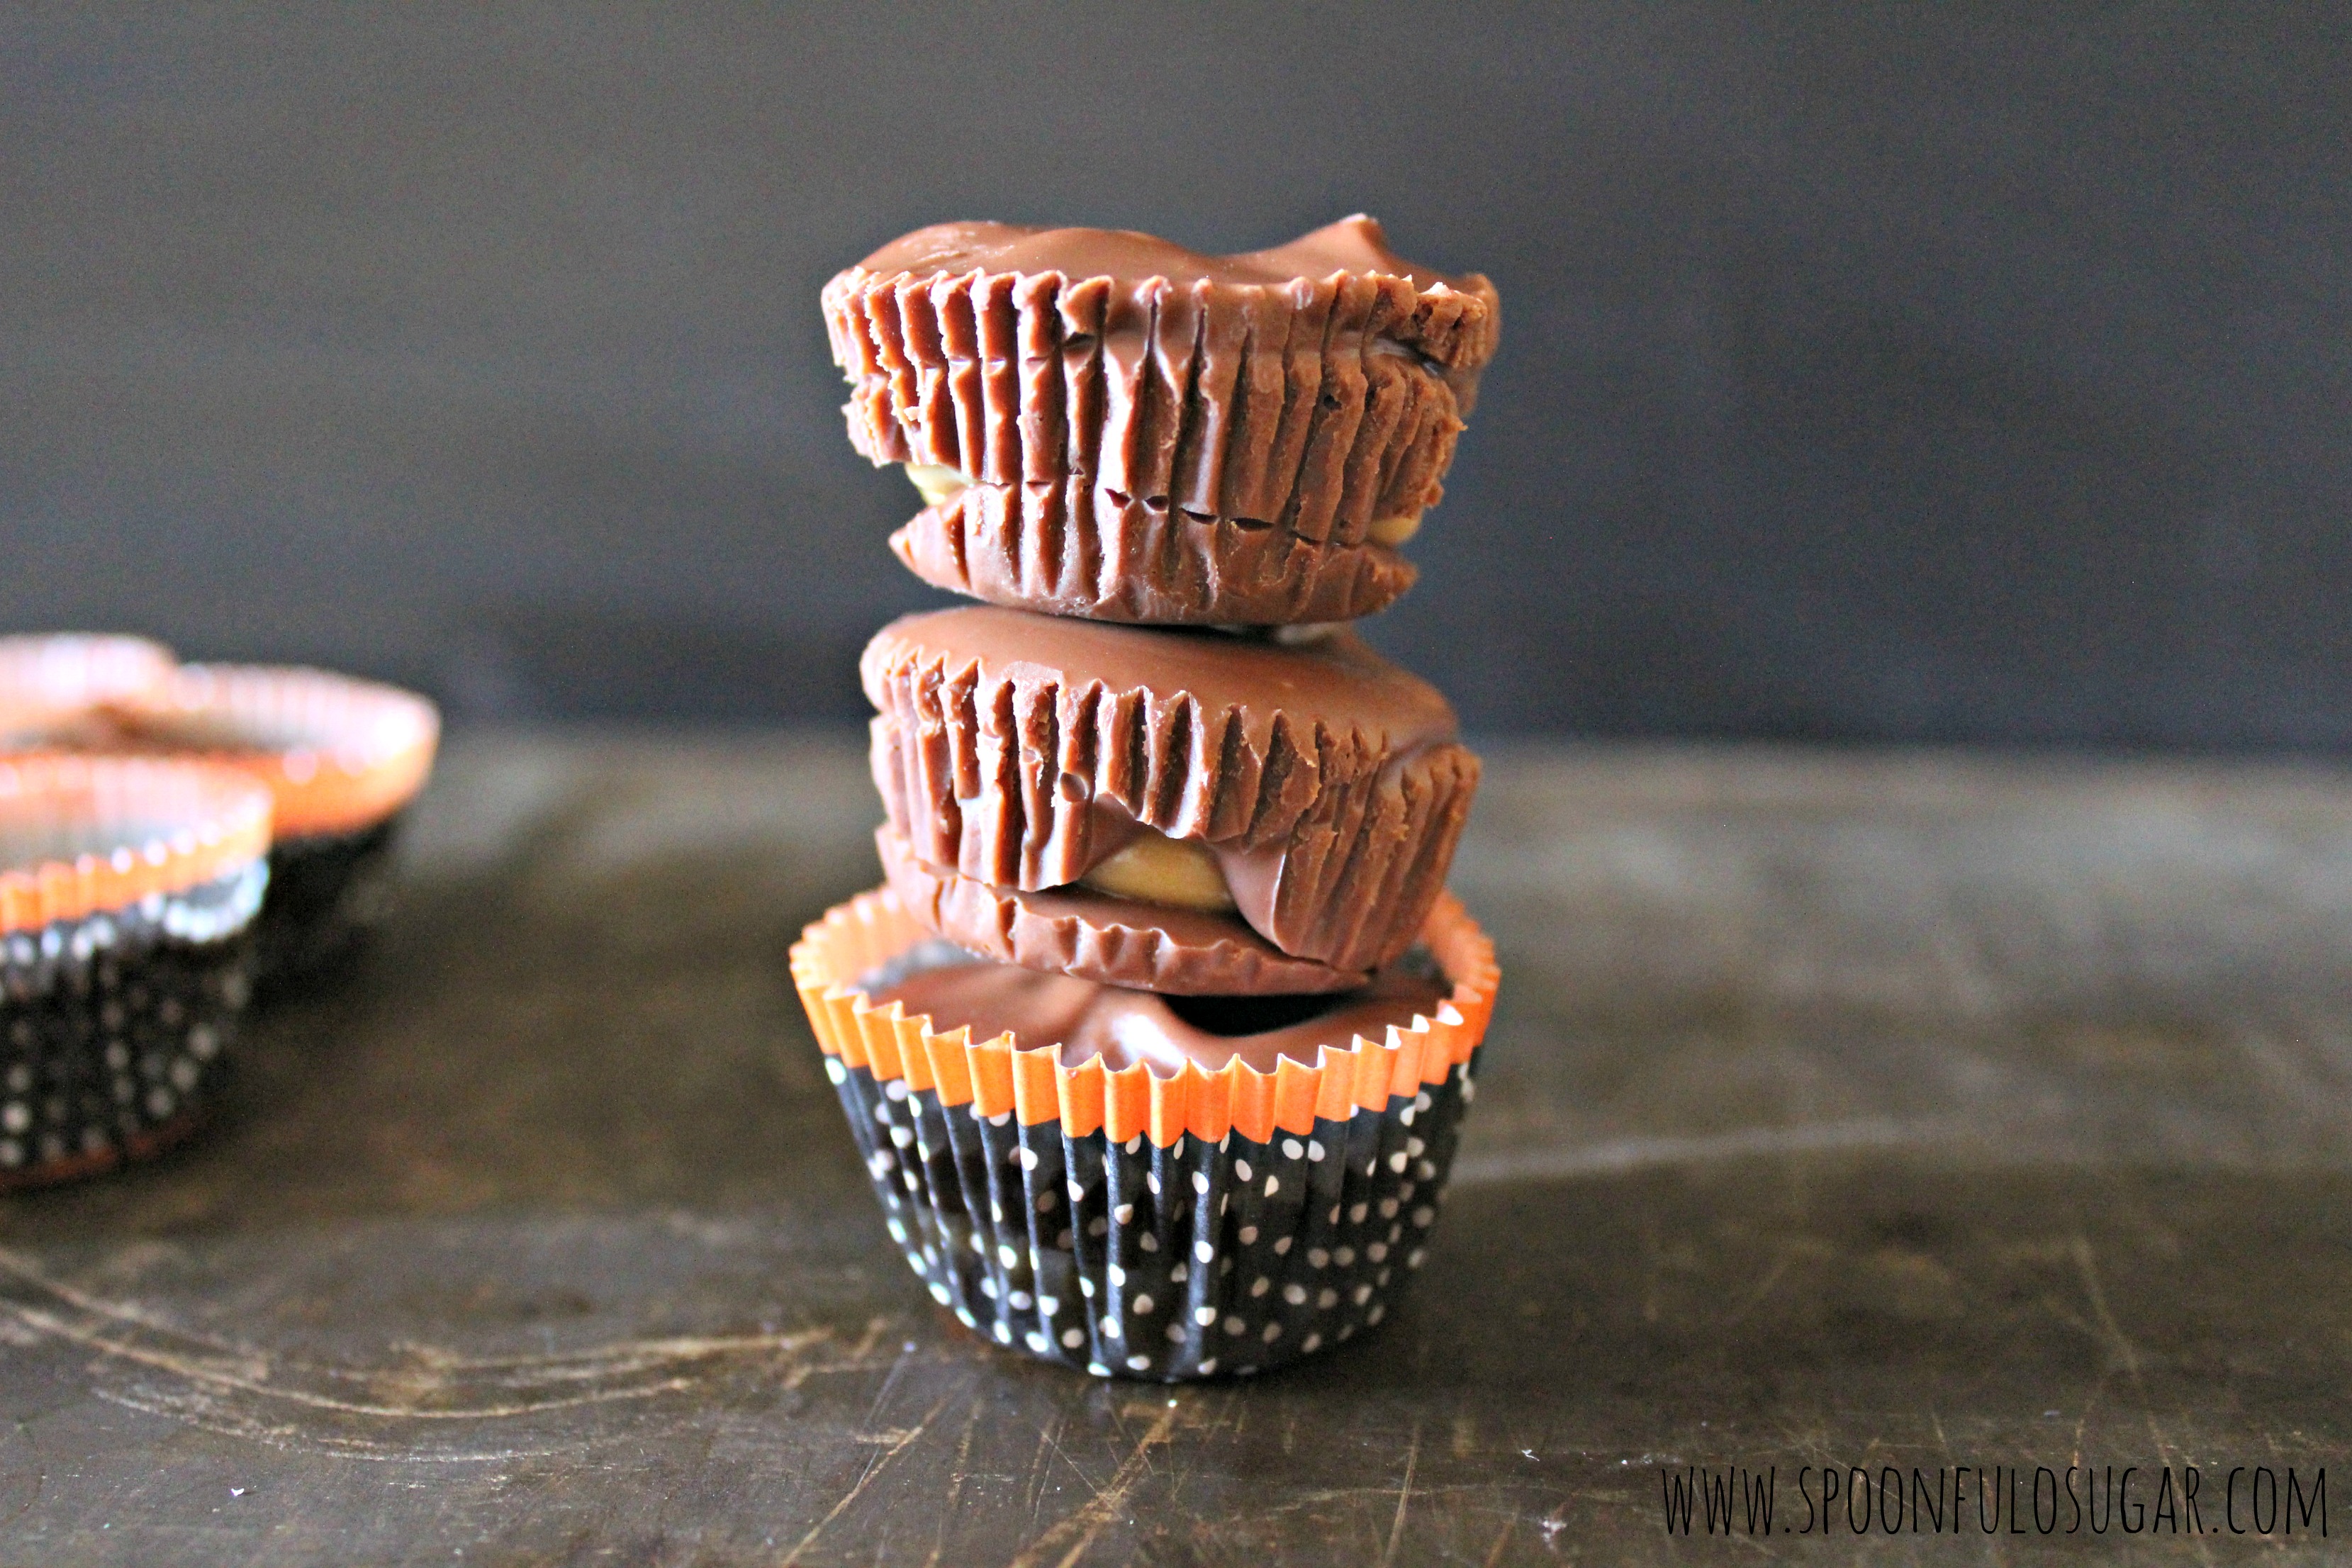
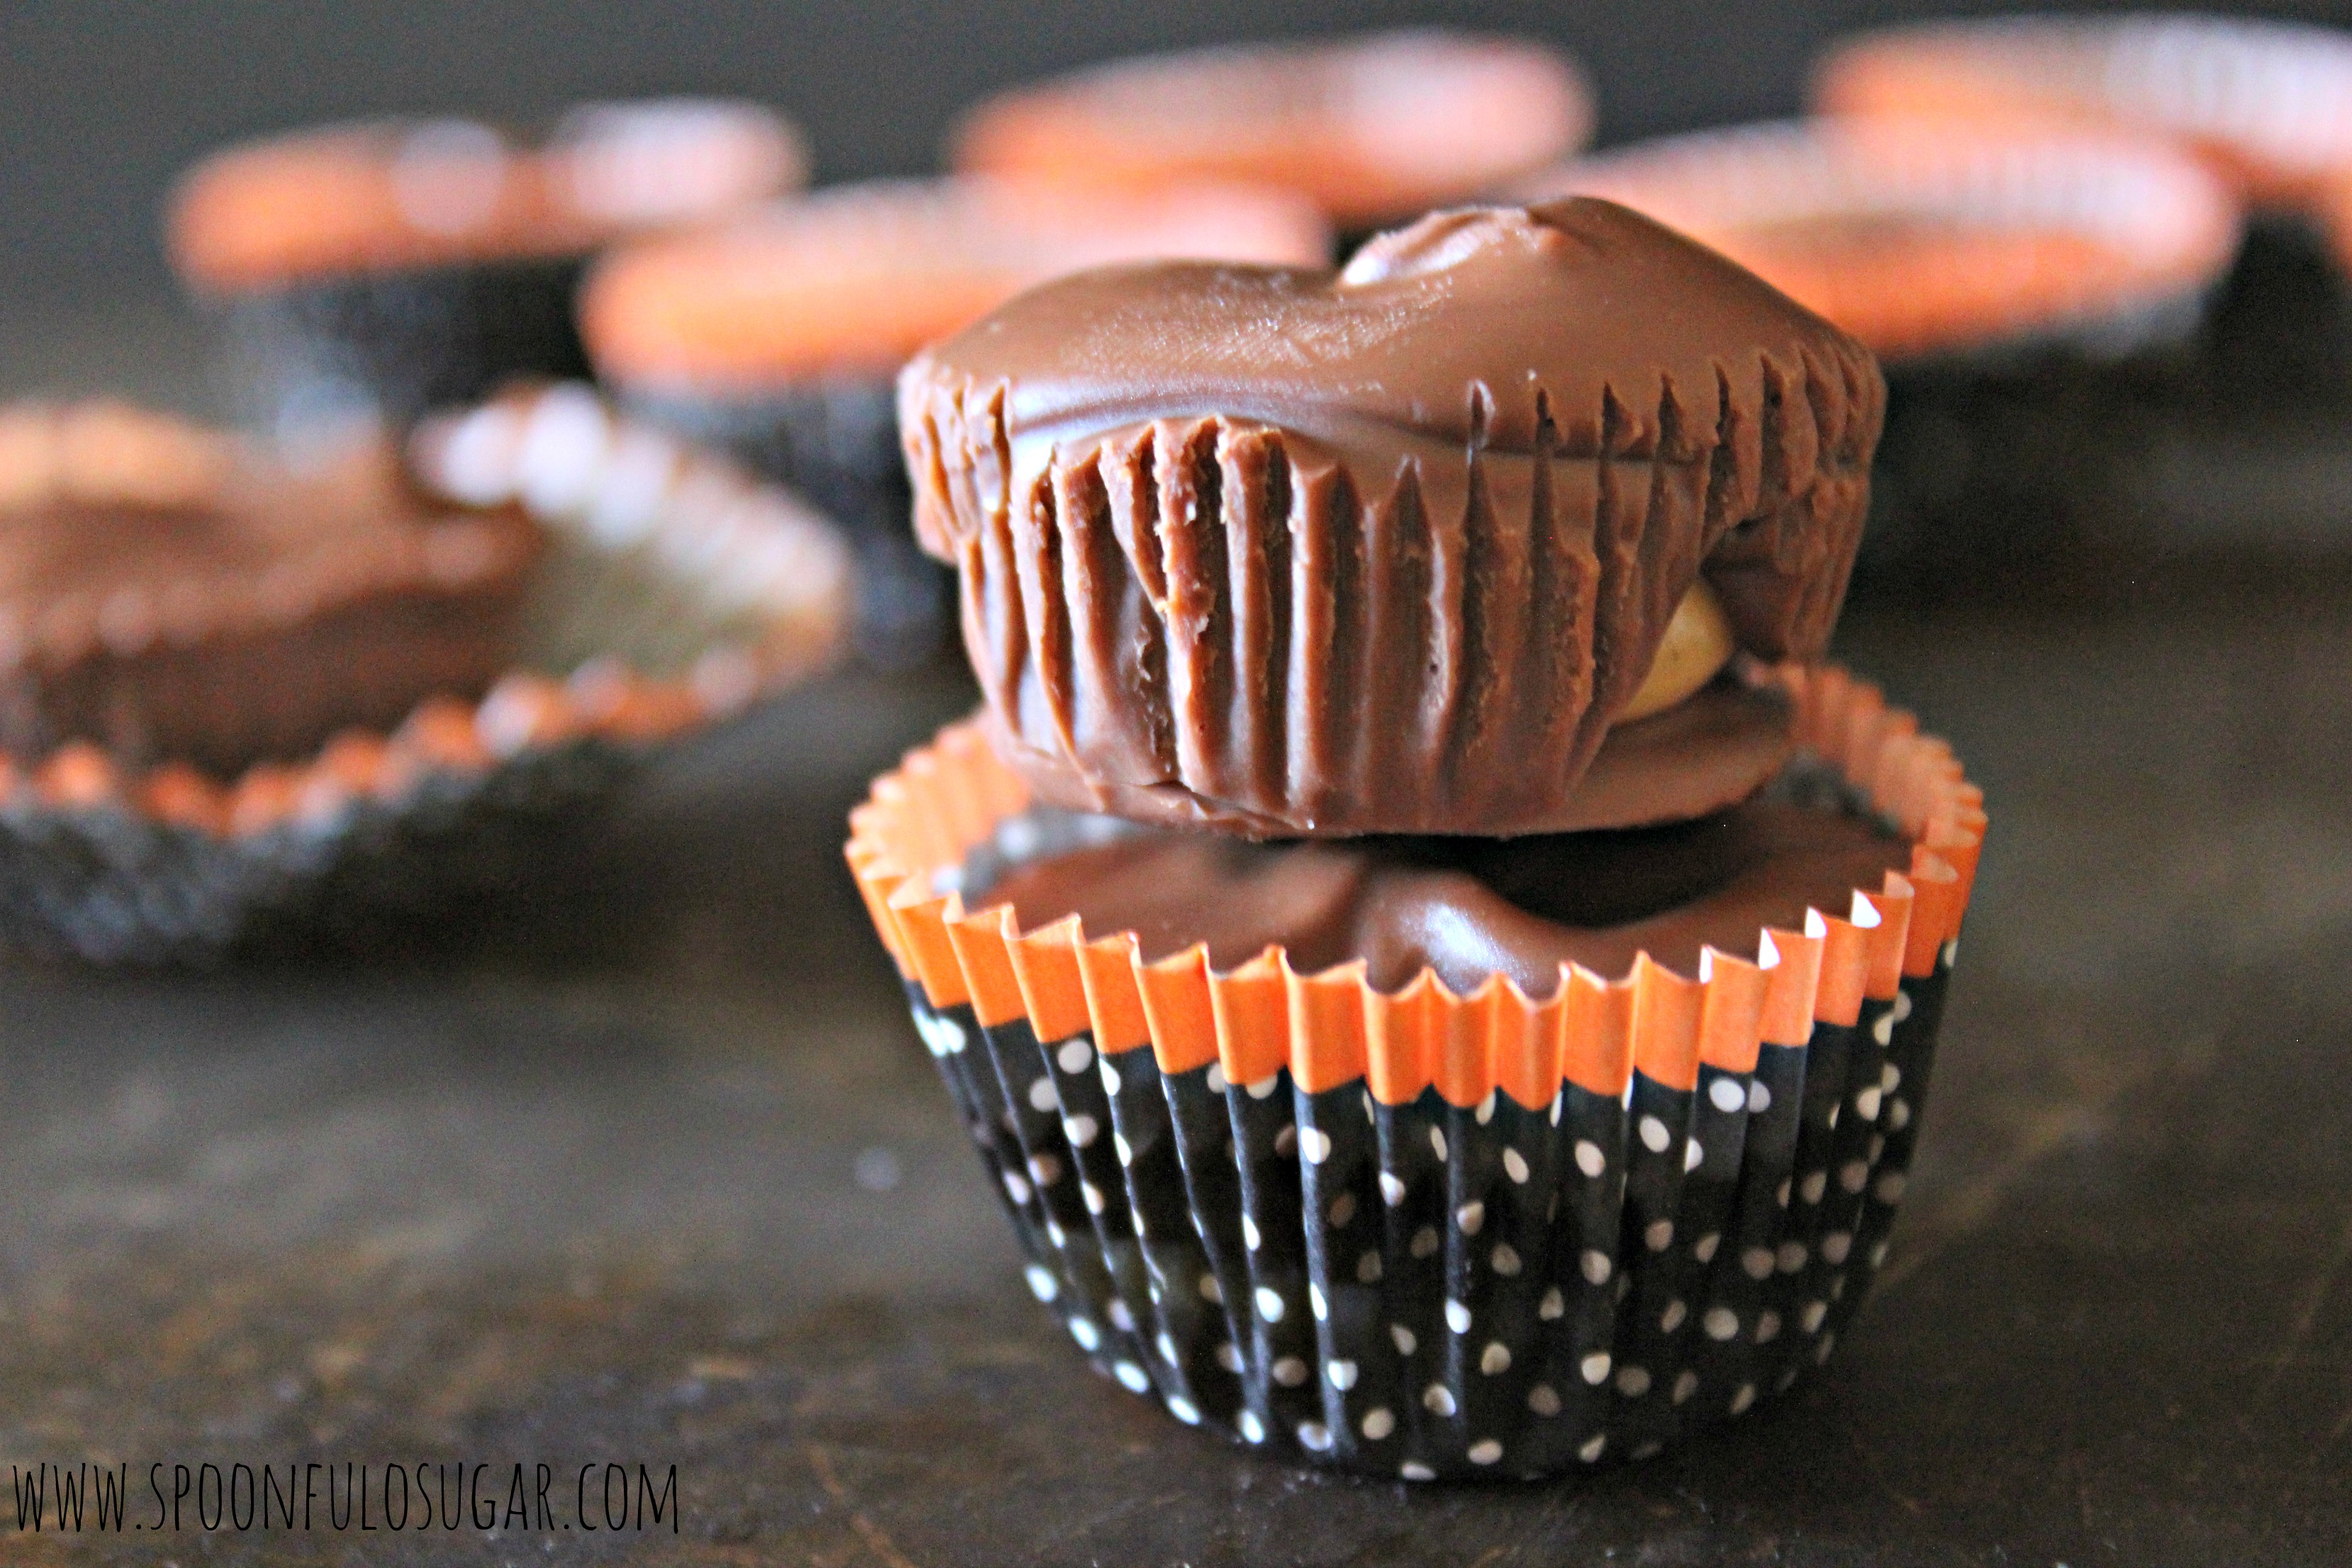
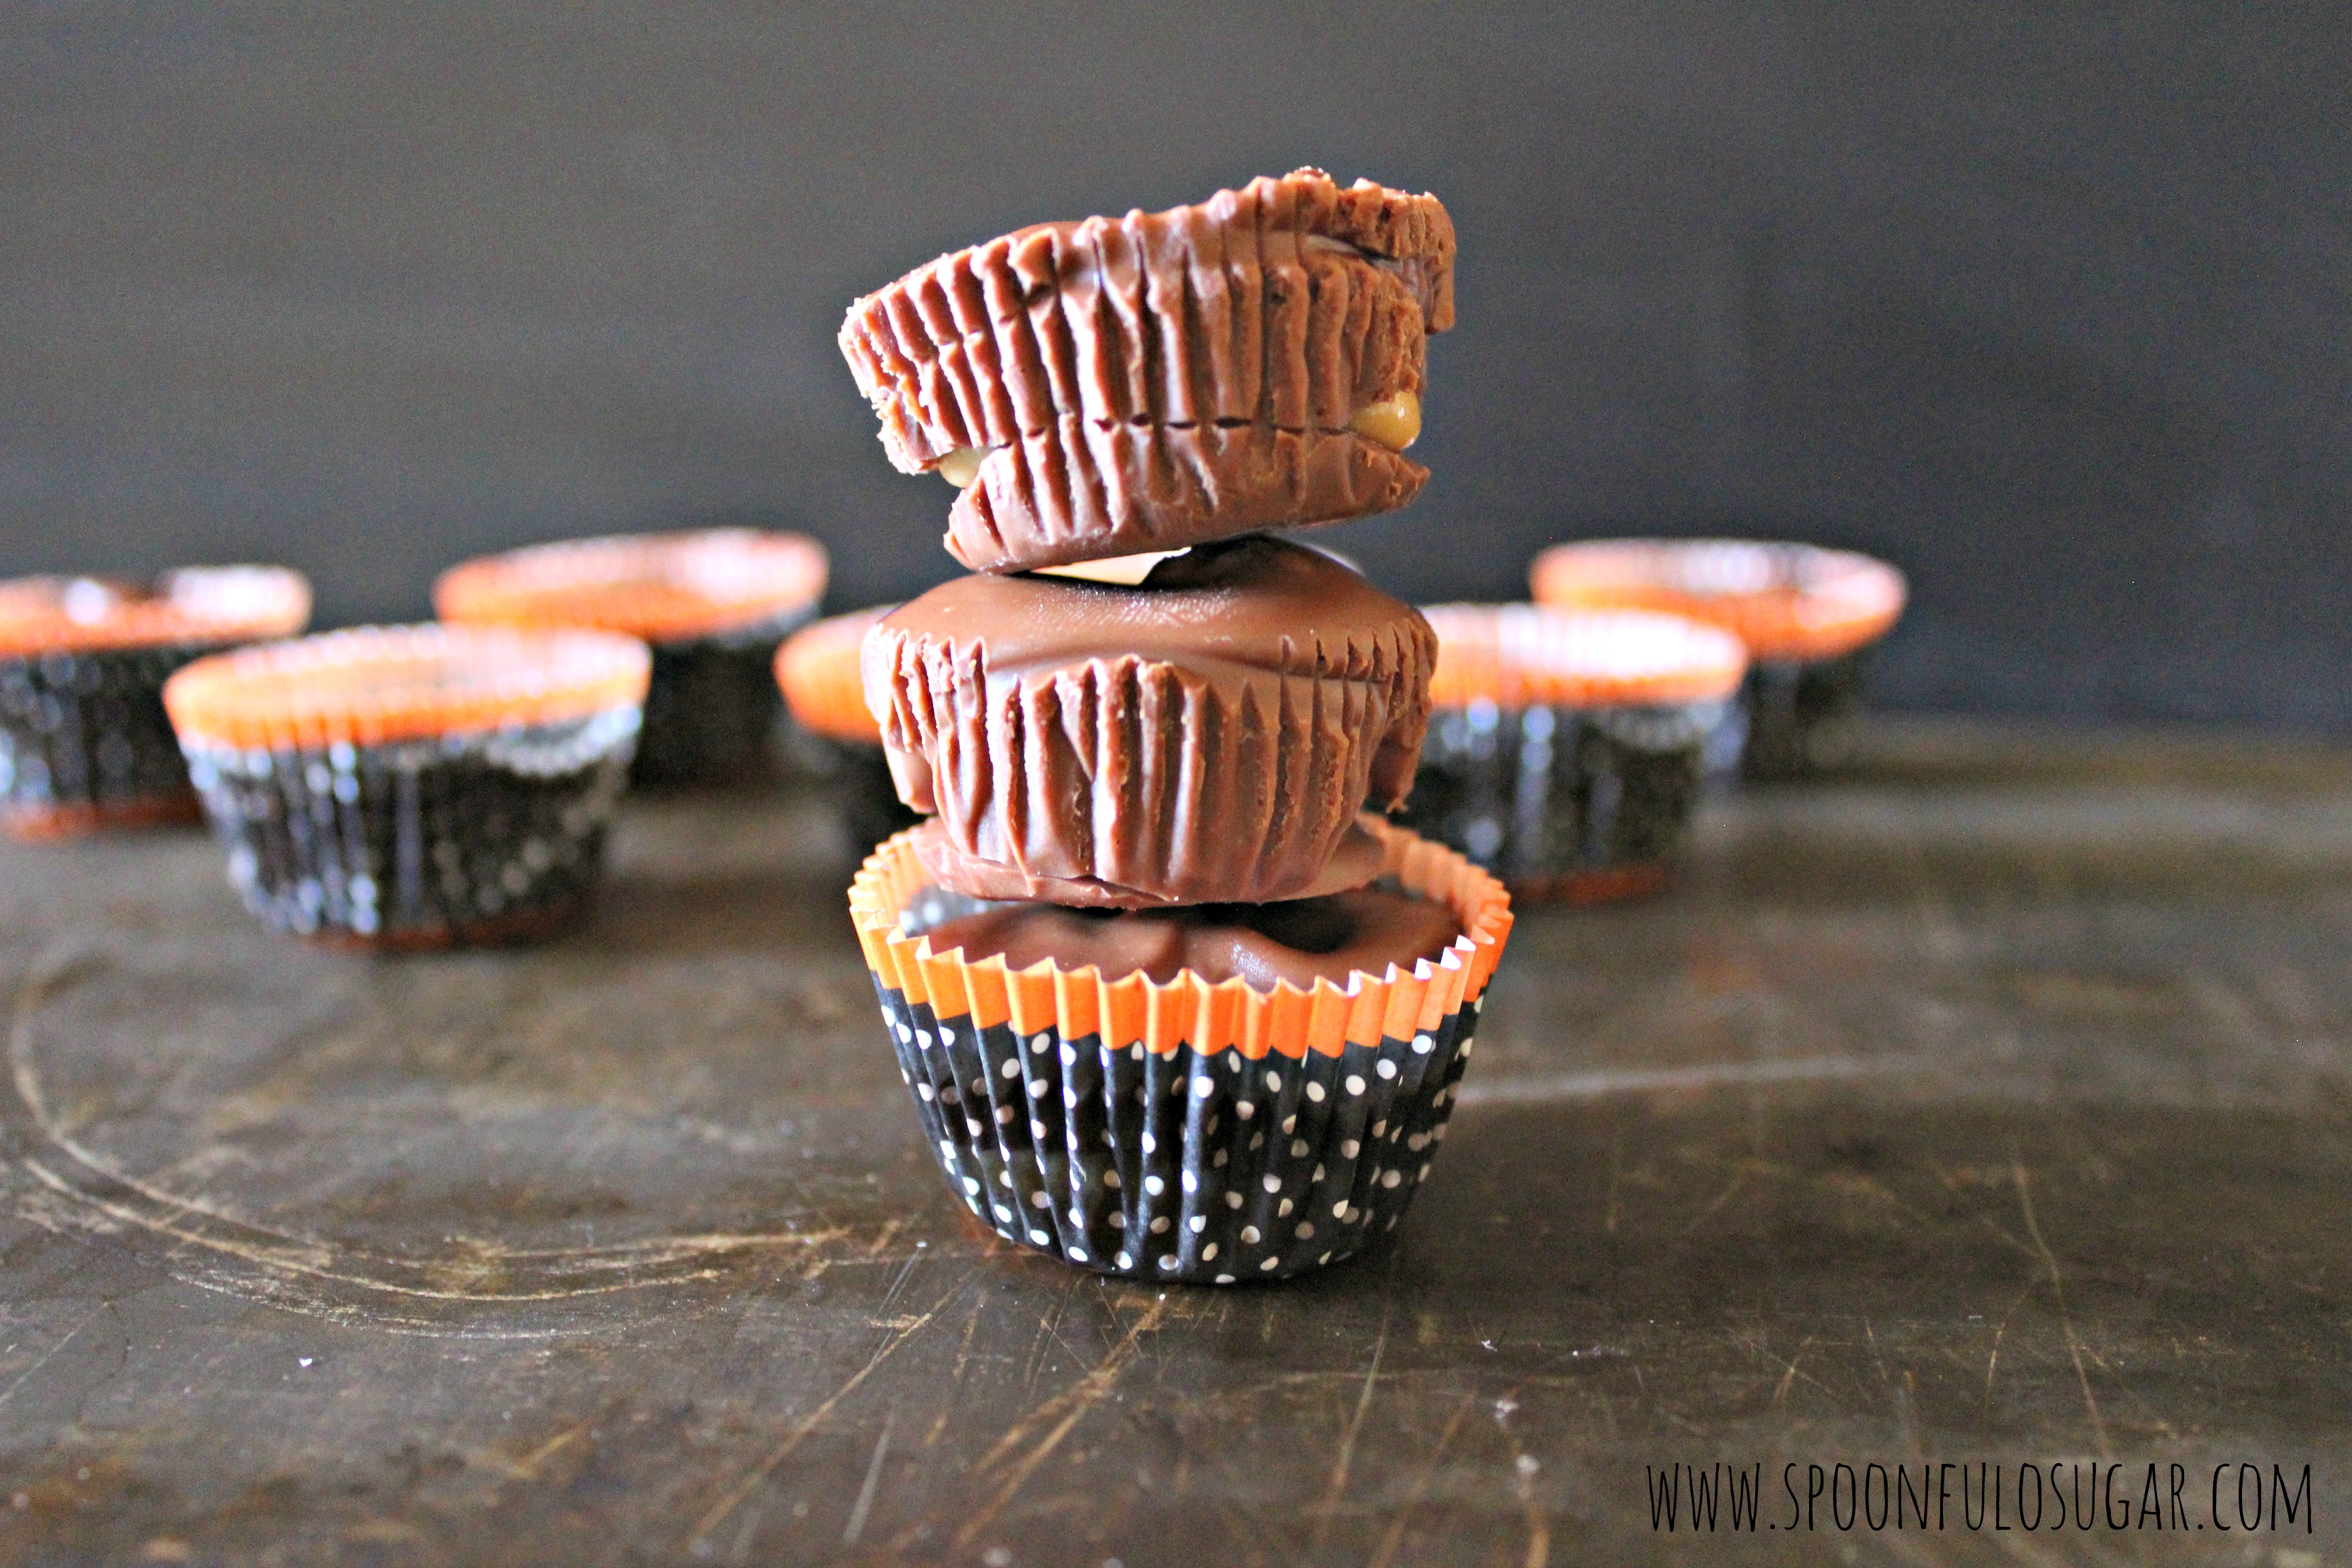
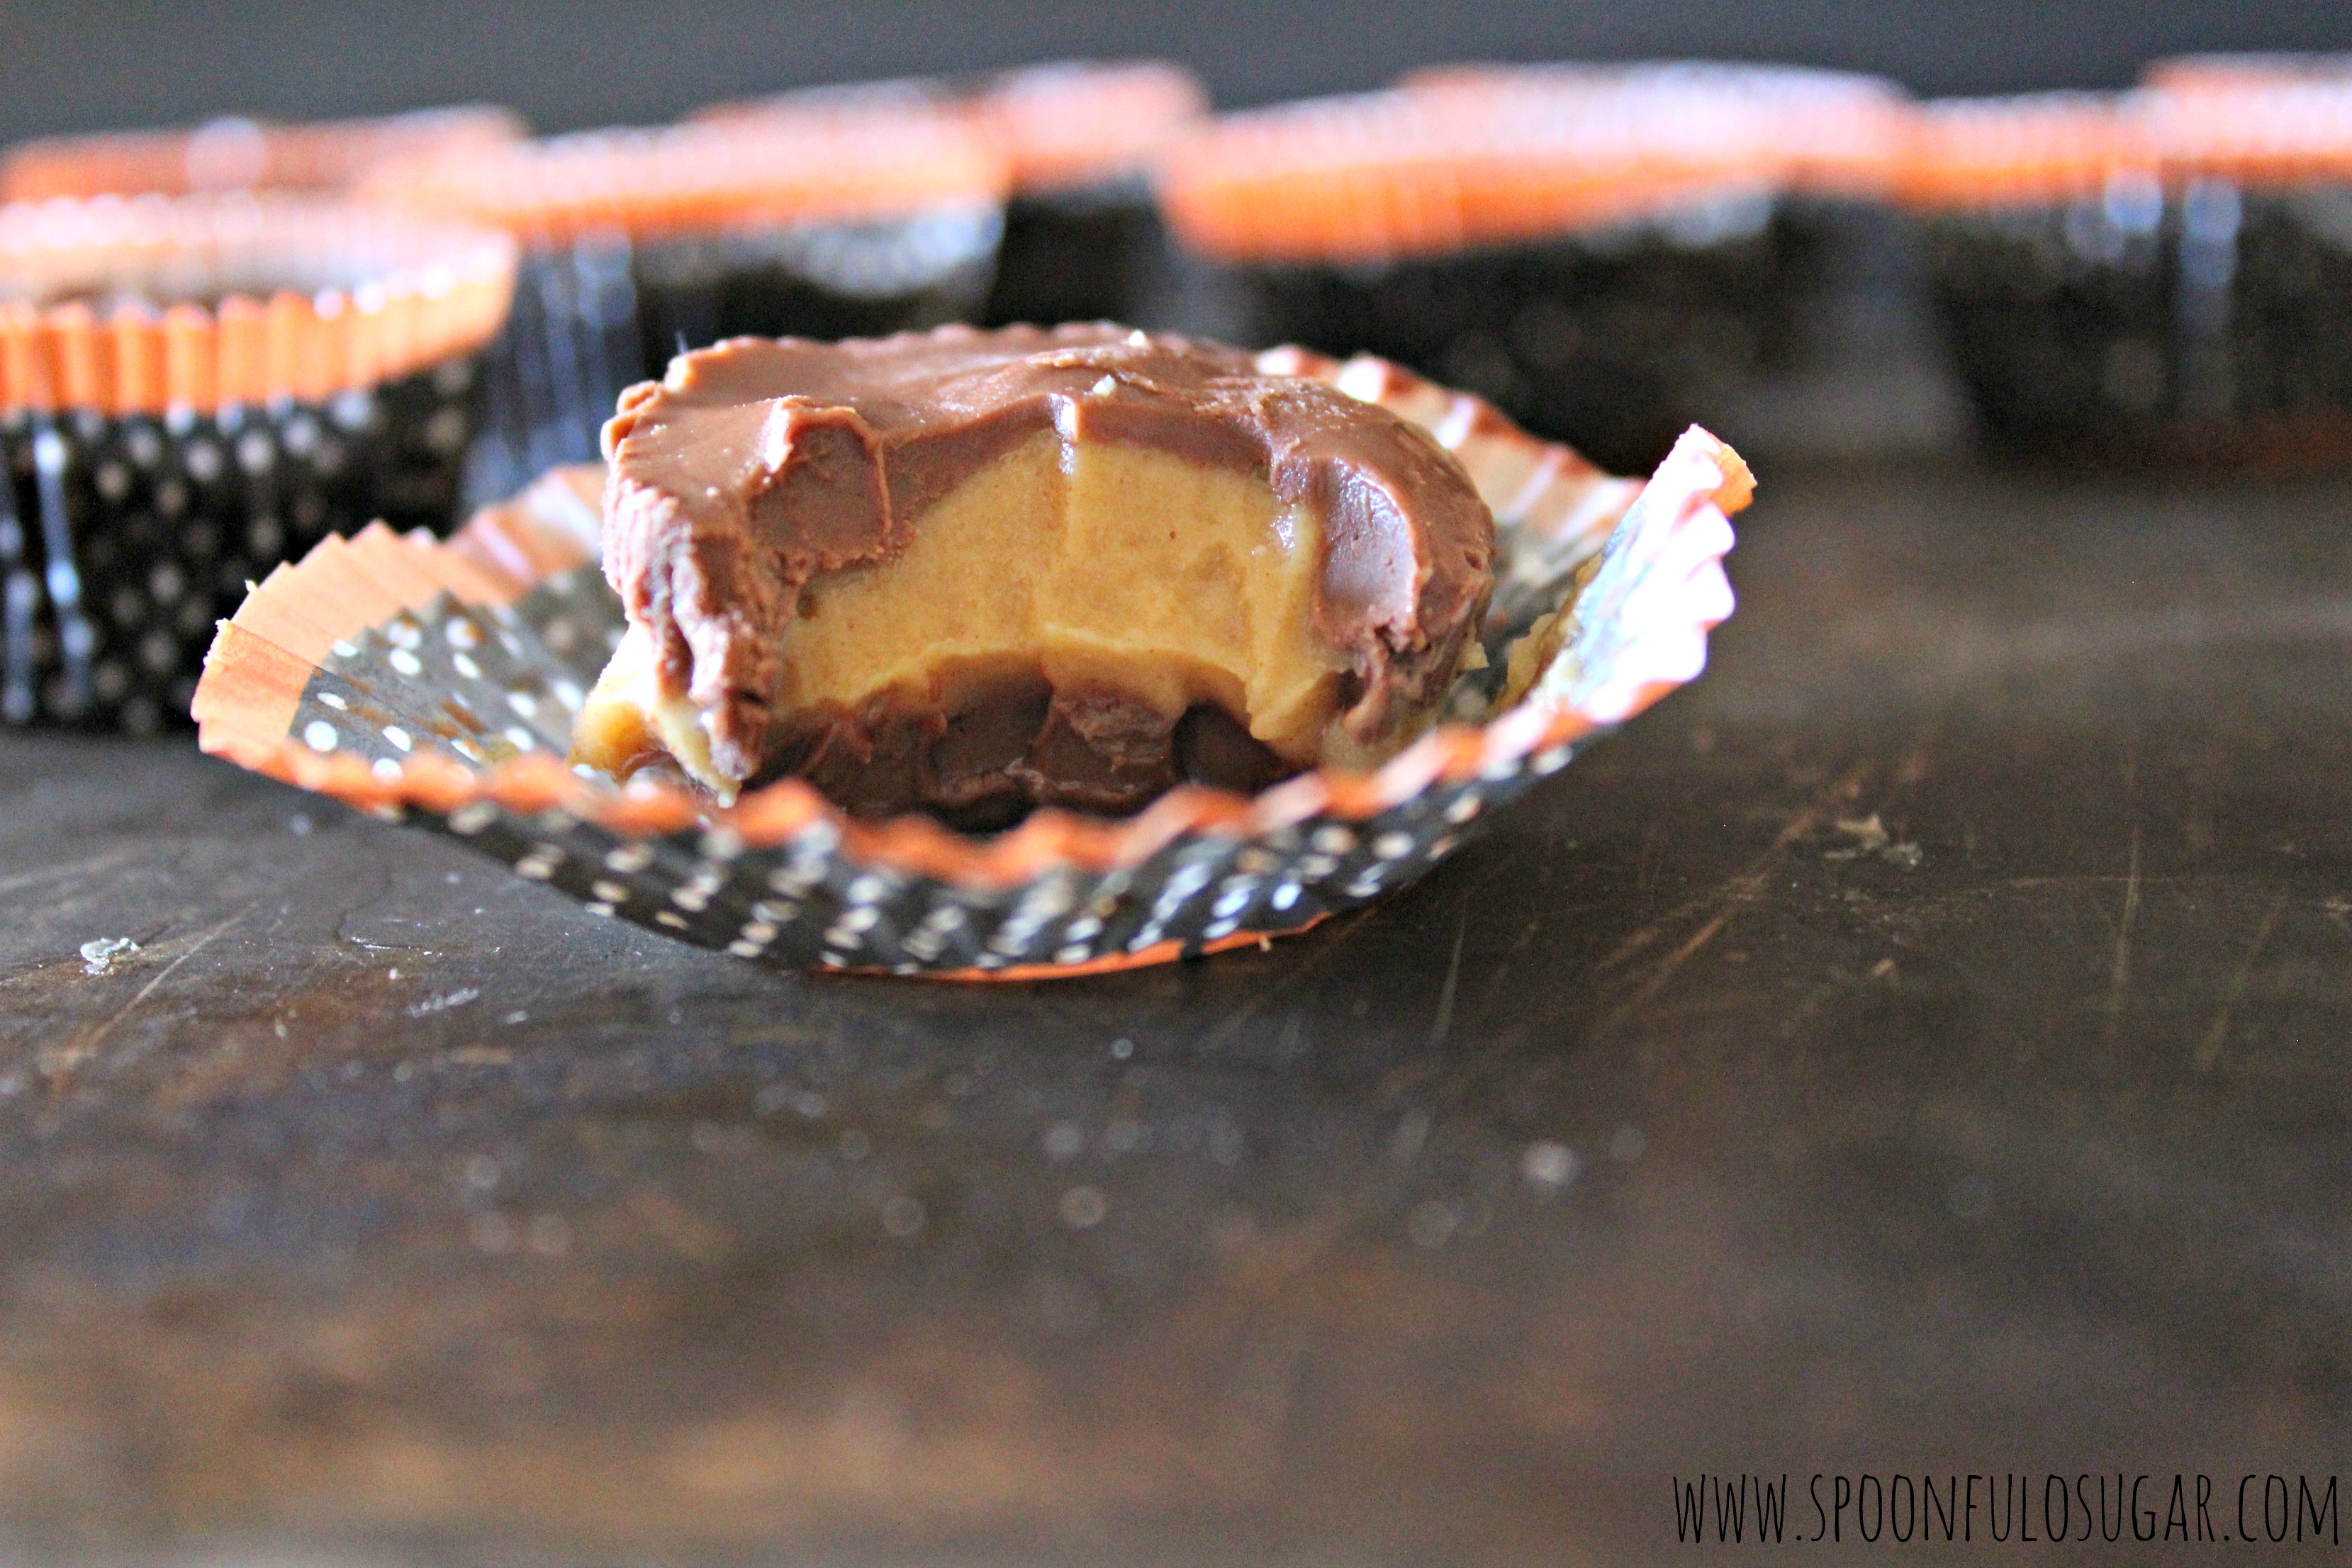
Pardon my excitement, I have a hard time controlling myself around peanut butter cups. It’s a legit problem. Just ask my waistline. If you also struggle with this peanut butter cup obsession, I urge you to embrace it and to make this homemade version. They are super simple to make and would be a surefire hit at a Halloween bash.
*No peanut butter cups were harmed in the making of this blog post.
**I lied. I demolished one peanut butter cup while typing this.
***I lied again. It was actually two.
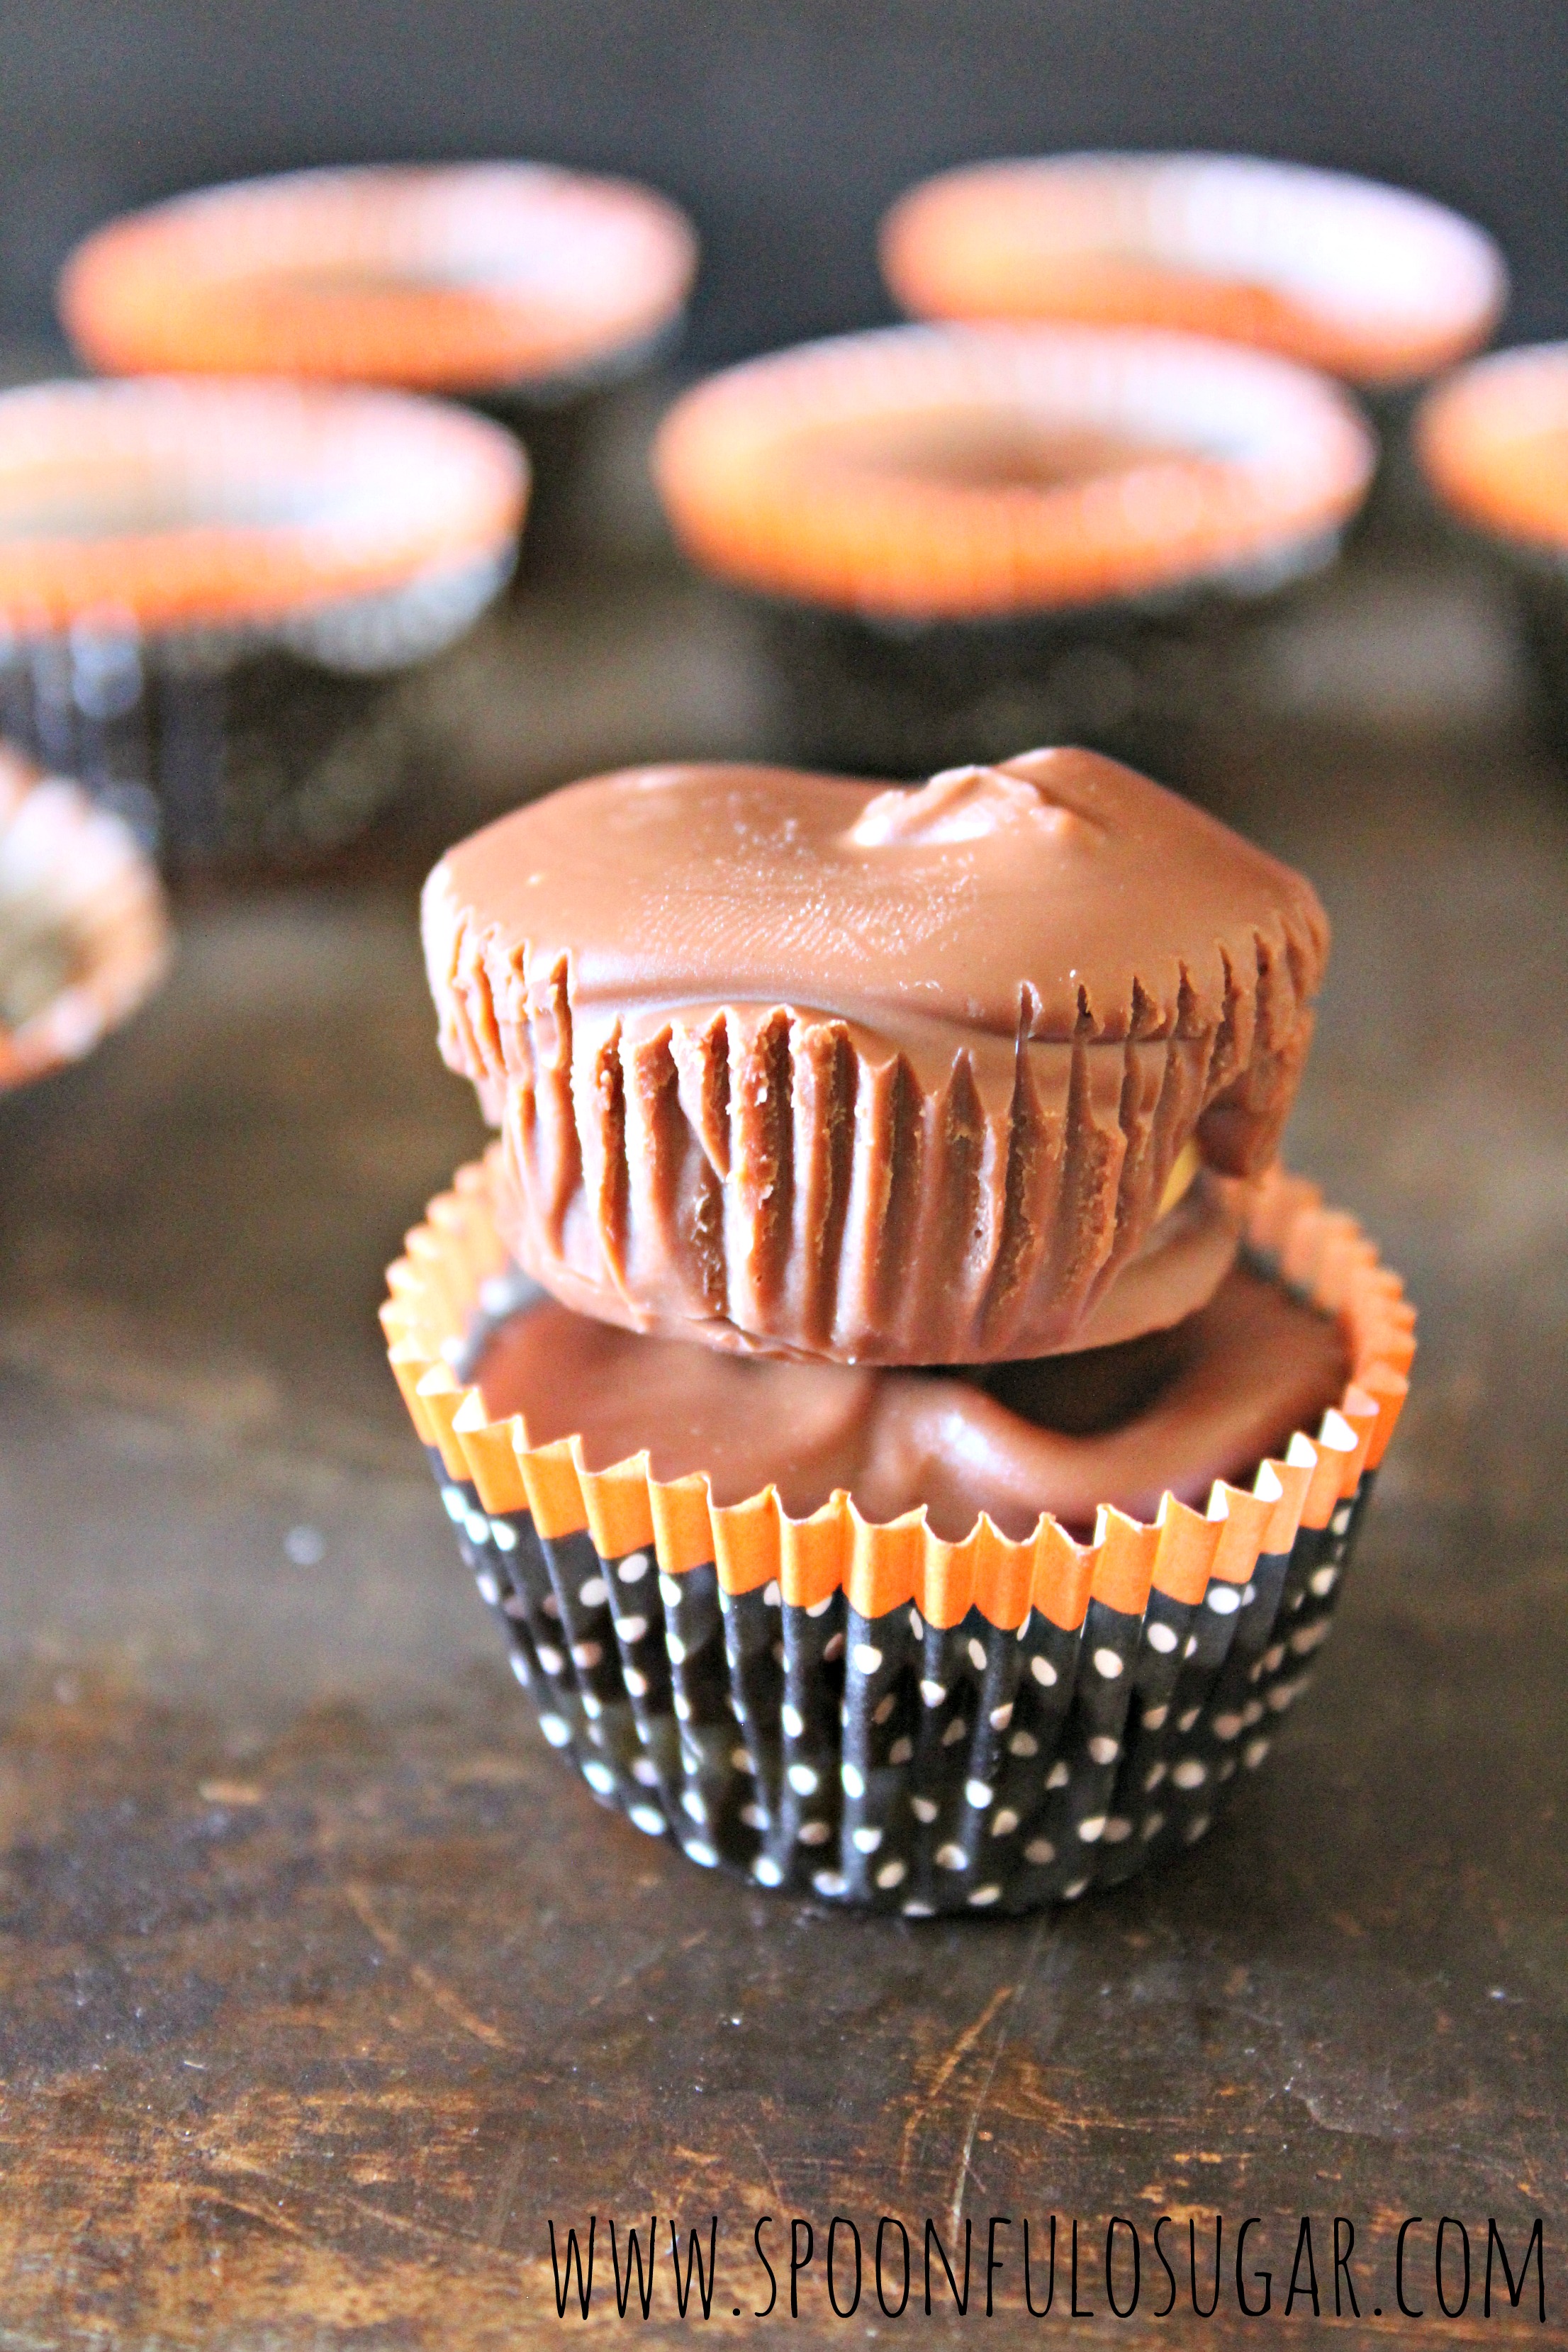
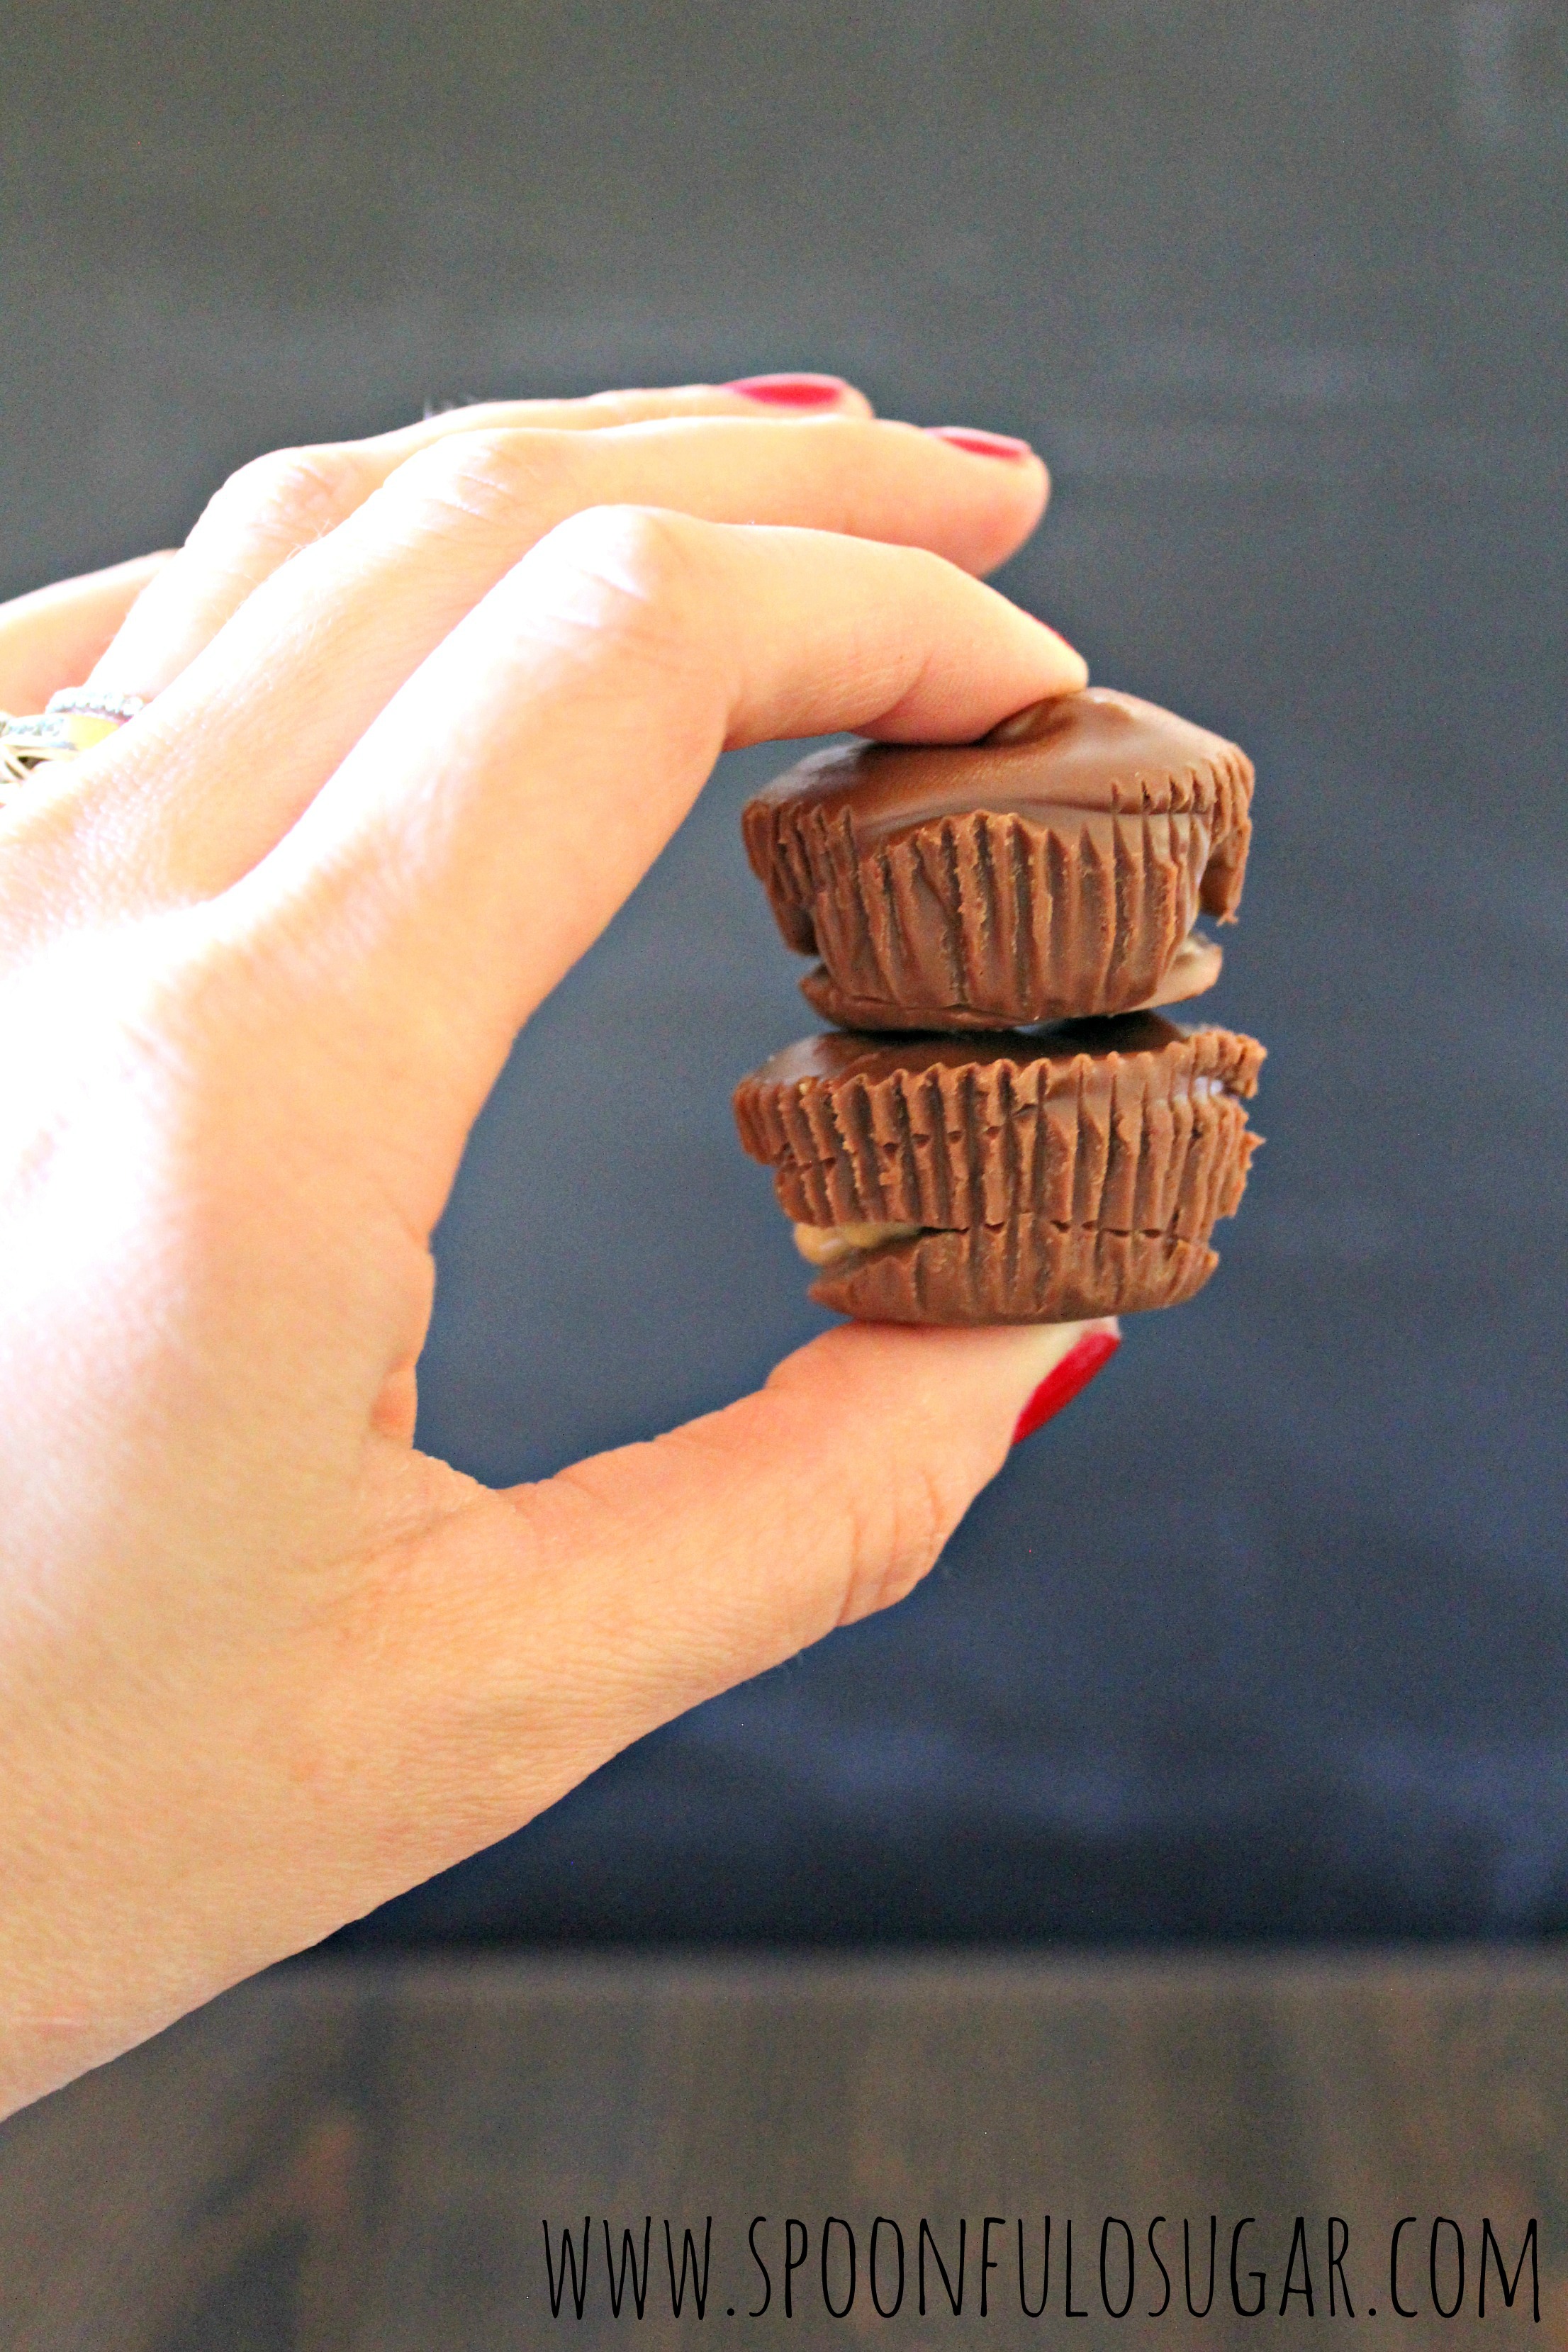
- Milk Chocolate Cup
- 2 cups milk chocolate chips, separated (I love Ghirardelli chips)
- 2 tablespoons vegetable shortening, separated
- Peanut Butter Filling
- 1/2 cup creamy peanut butter
- 1/2 cup powdered sugar
- 4 tablespoons softened butter (go with salted butter if you want a touch of salt in your cups)
- Line a mini muffin pan with liners.
- Melt half of the chocolate and half of the shortening in a small bowl in the microwave until melted and smooth (mine was melted after 30 seconds + stirring + 20 additional seconds + stirring). You could also use a double boiler to melt the chocolate.
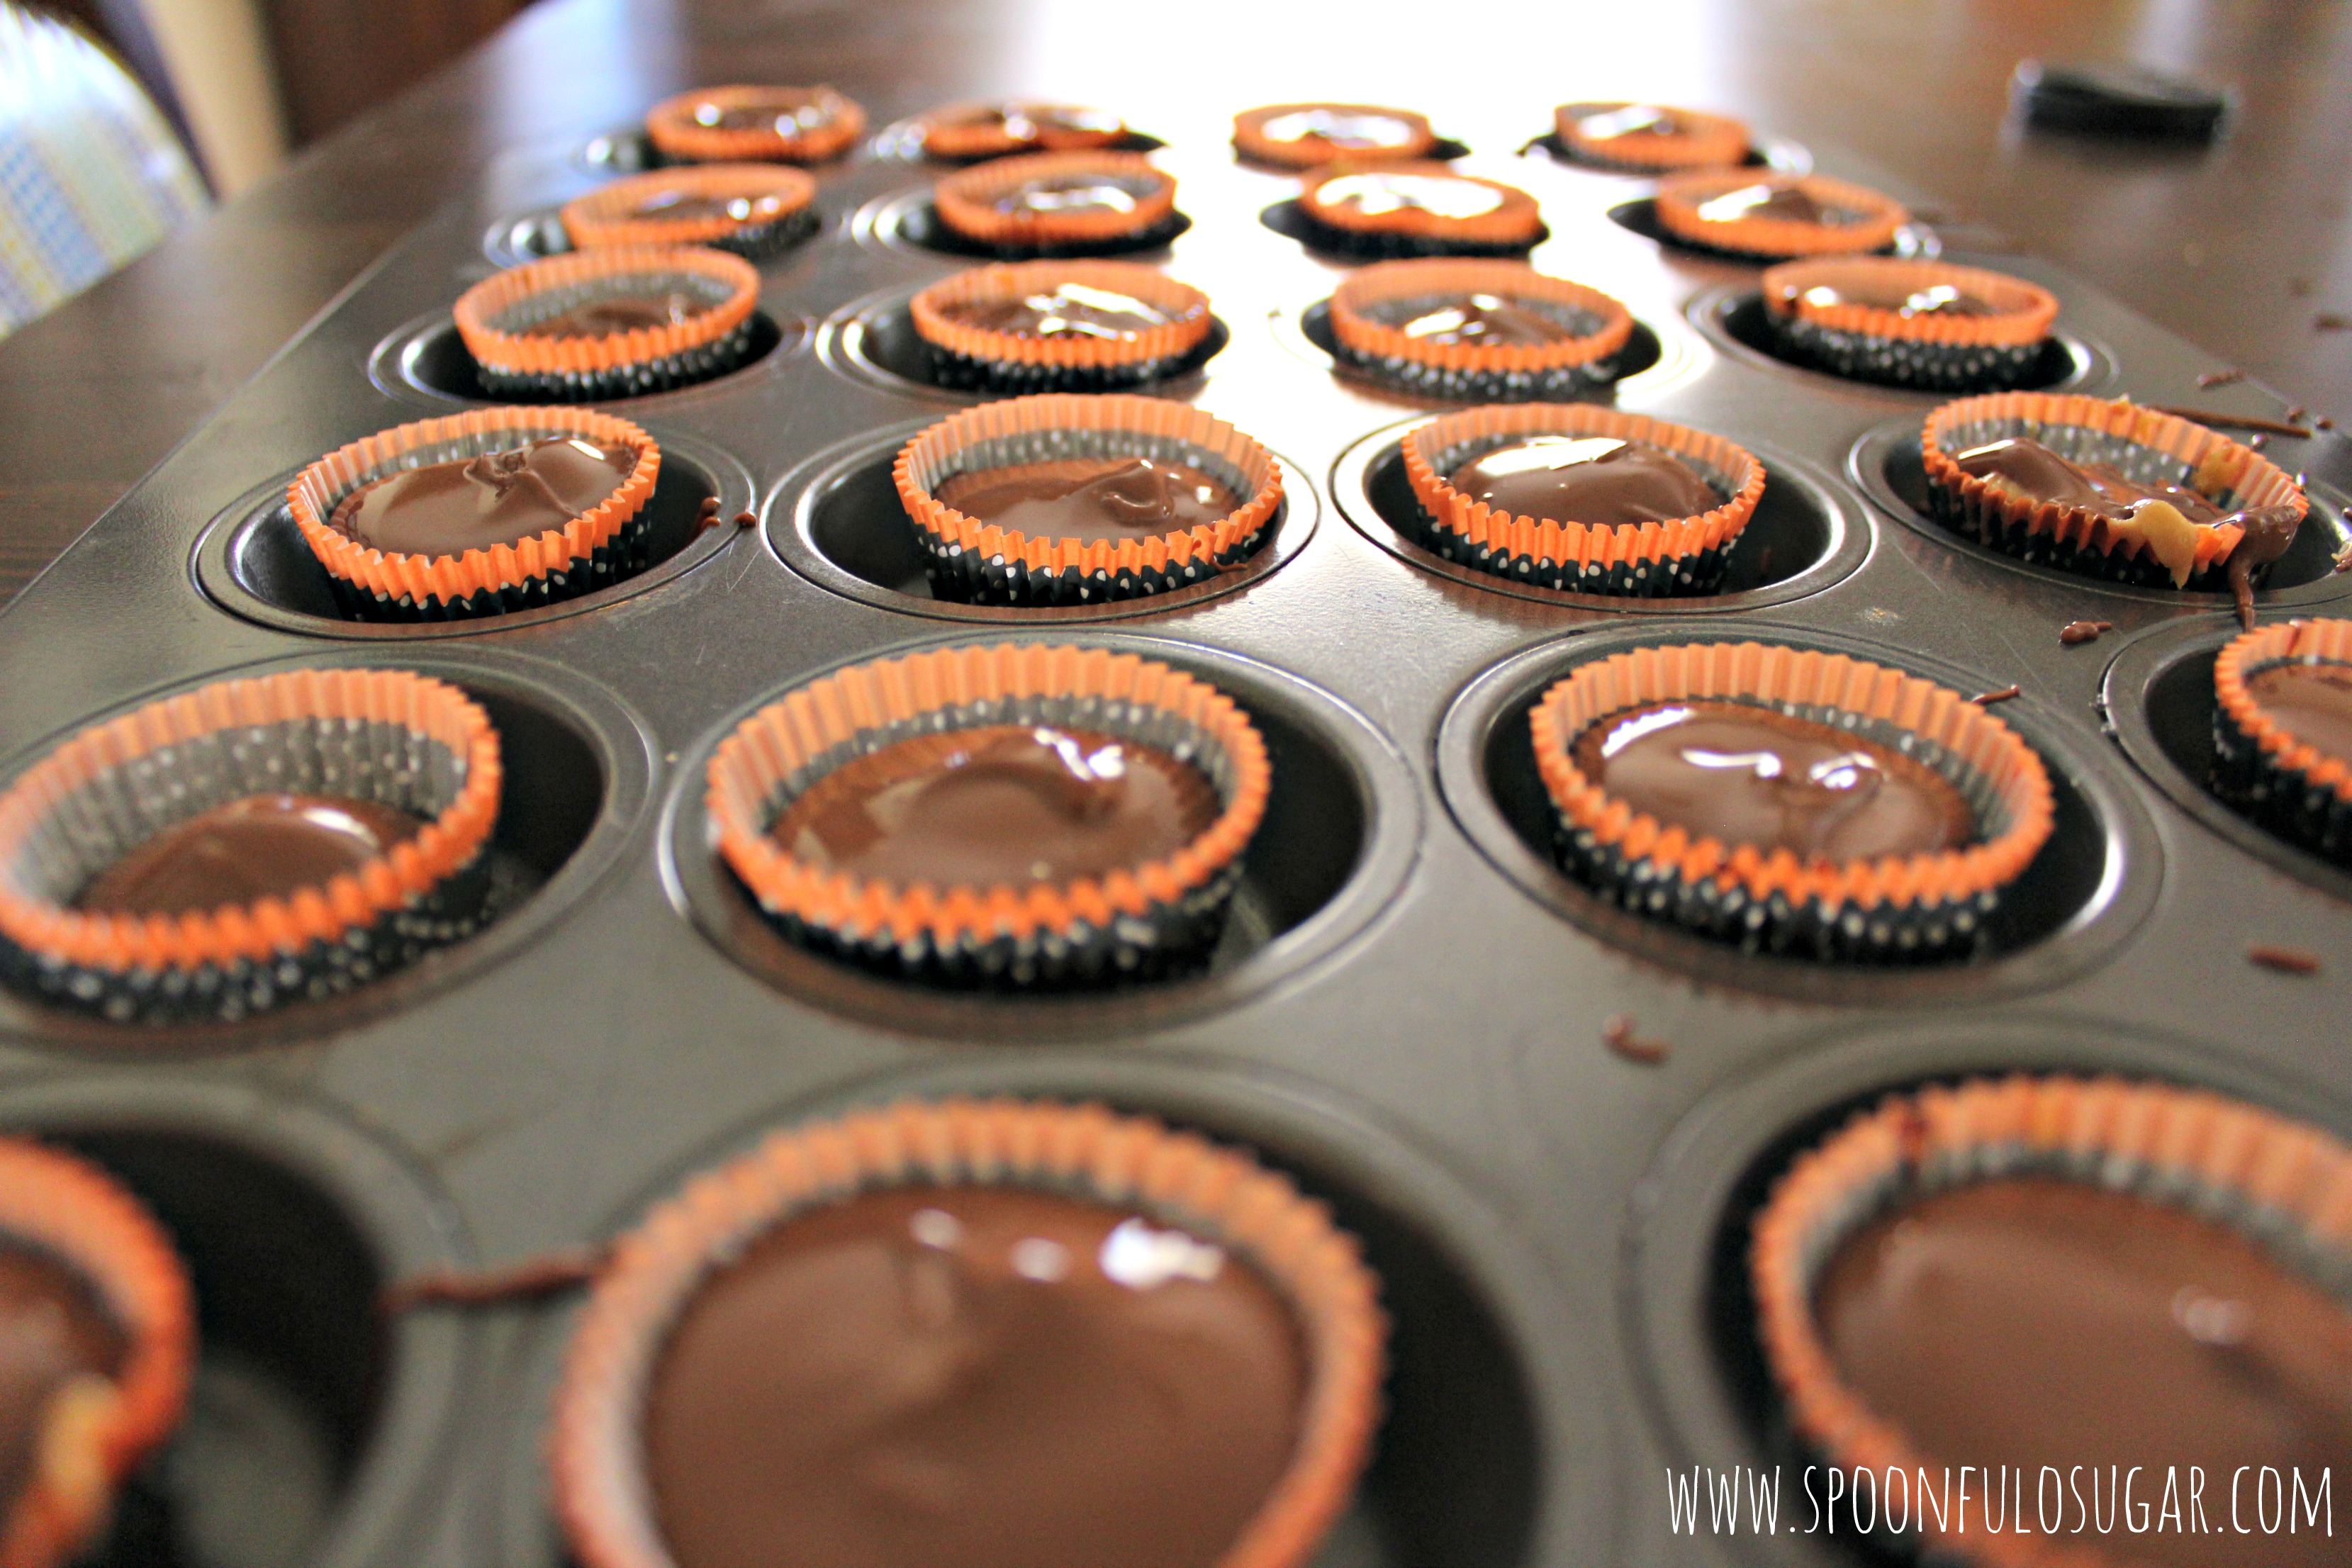
- Use a teaspoon measuring spoon to pour the melted chocolate into your liners. Make sure the chocolate covers the bottom of each liner. Stick the pan in the freezer for 5 minutes.
- Stir together all of the peanut butter filling ingredients. Use a teaspoon measuring spoon to dollop the peanut butter into each chocolate-lined cup (I had a little filling leftover). Stick the pan in the freezer for 5 more minutes.
- Melt the remaining chocolate and shortening together as you did in step 2. Use your teaspoon again to pour the melted chocolate over the top of the peanut butter, do your best to make sure the chocolate completely covers the peanut butter. Stick the pan in the freezer for 5 more minutes to allow the cups to harden completely.
- Store the peanut butter cups in a cool place and enjoy!
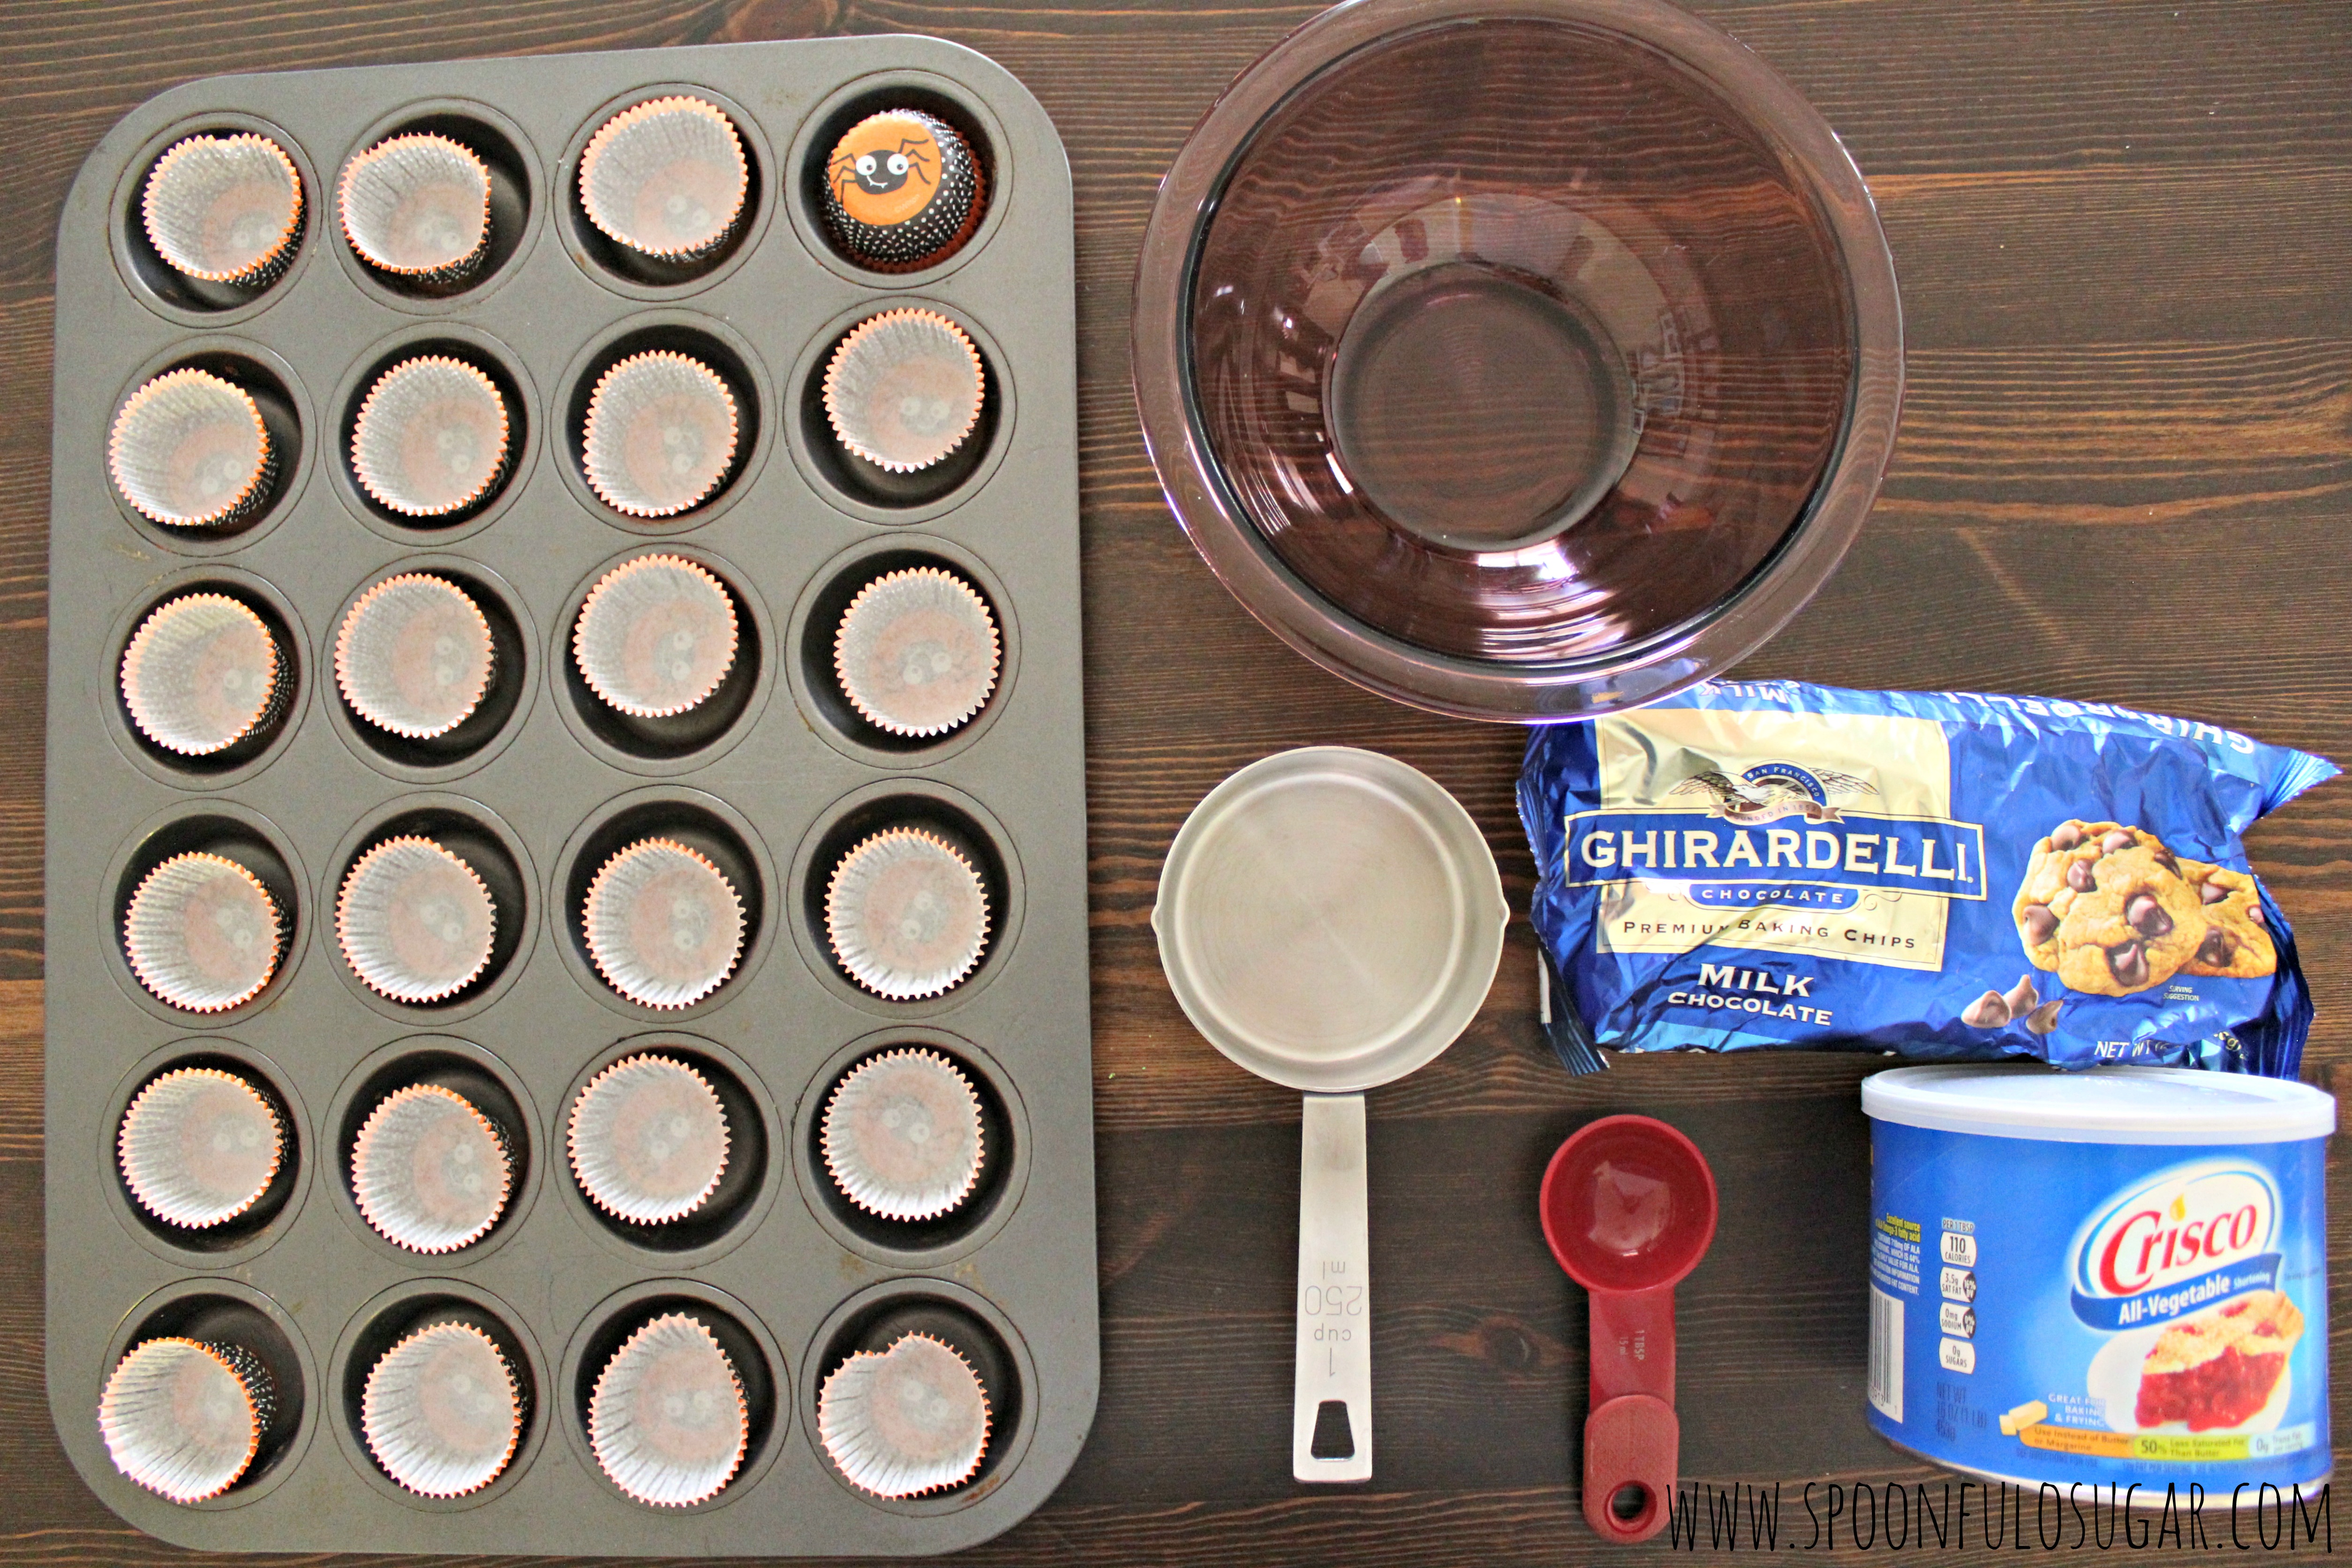
Line a mini cupcake pan,preferably with adorable cupcake liners. Add 1 cup of milk chocolate chips and 1 tablespoon of shortening to a small microwaveable bowl. Microwave the chocolate until smooth and fully melted. Start with 30 seconds and stir, then return to the microwave for 20 additional seconds and stir. If the mixture isn’t melted, return to the microwave for 10 additional seconds.
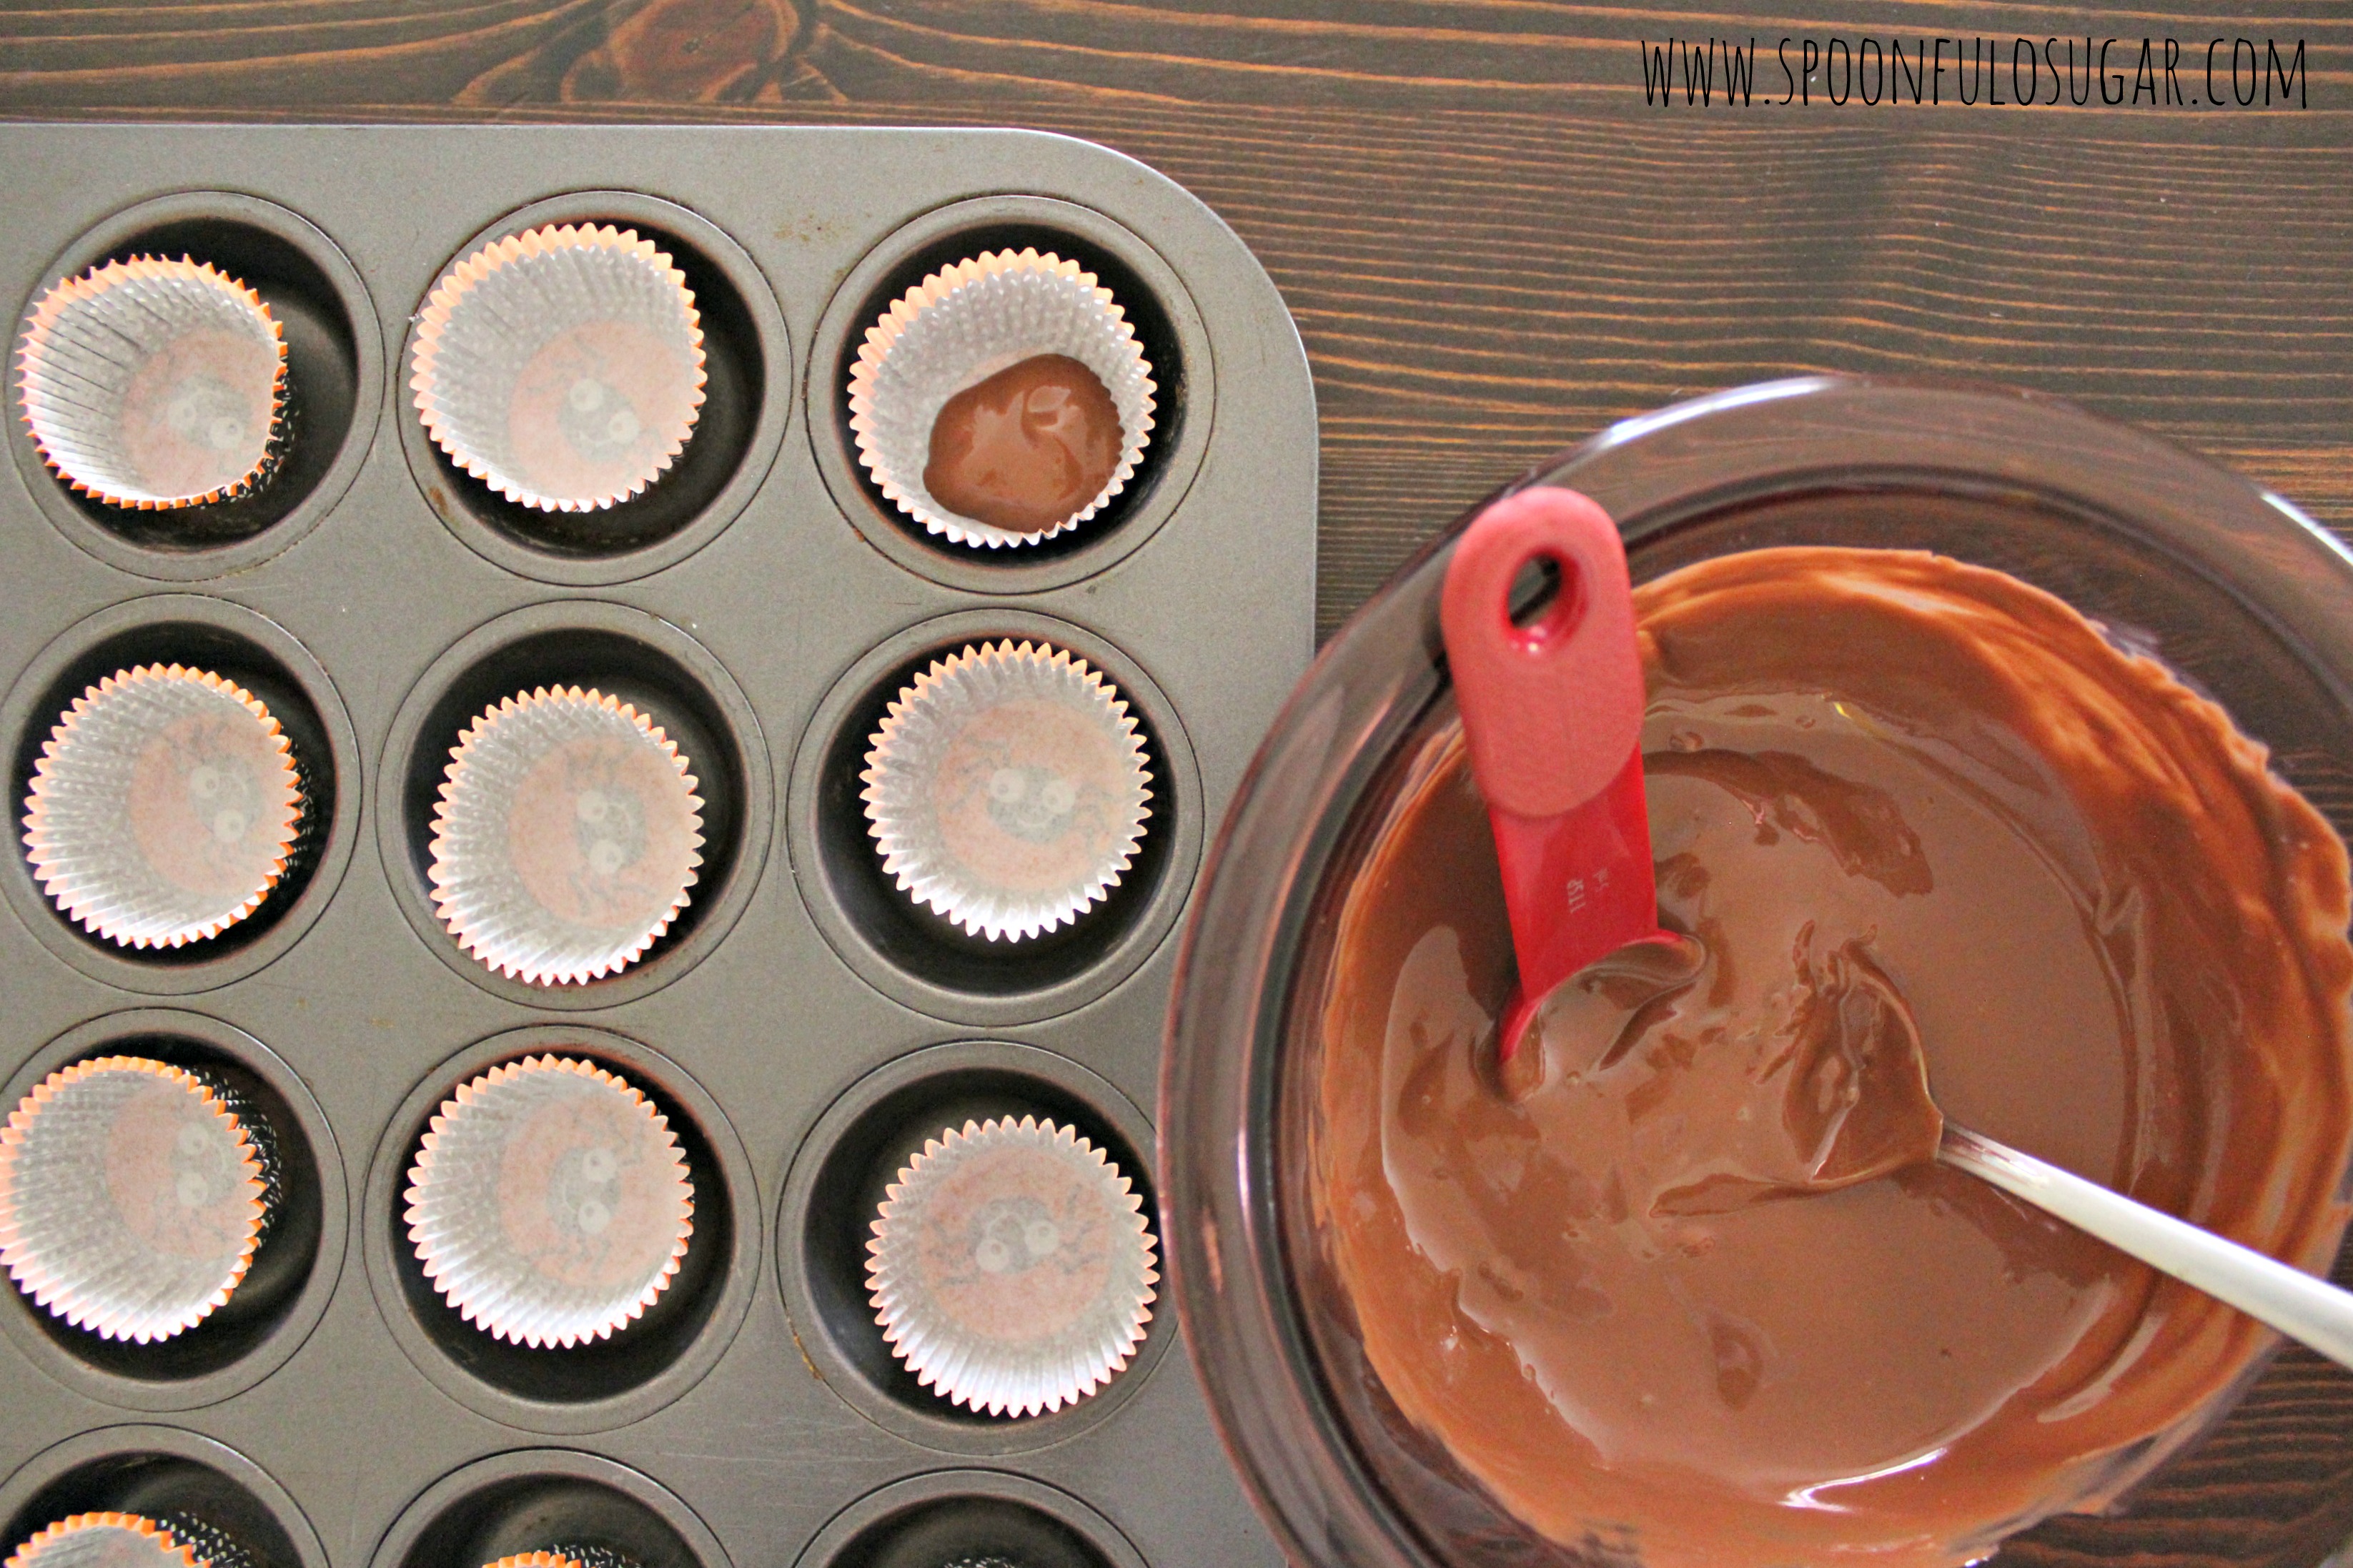
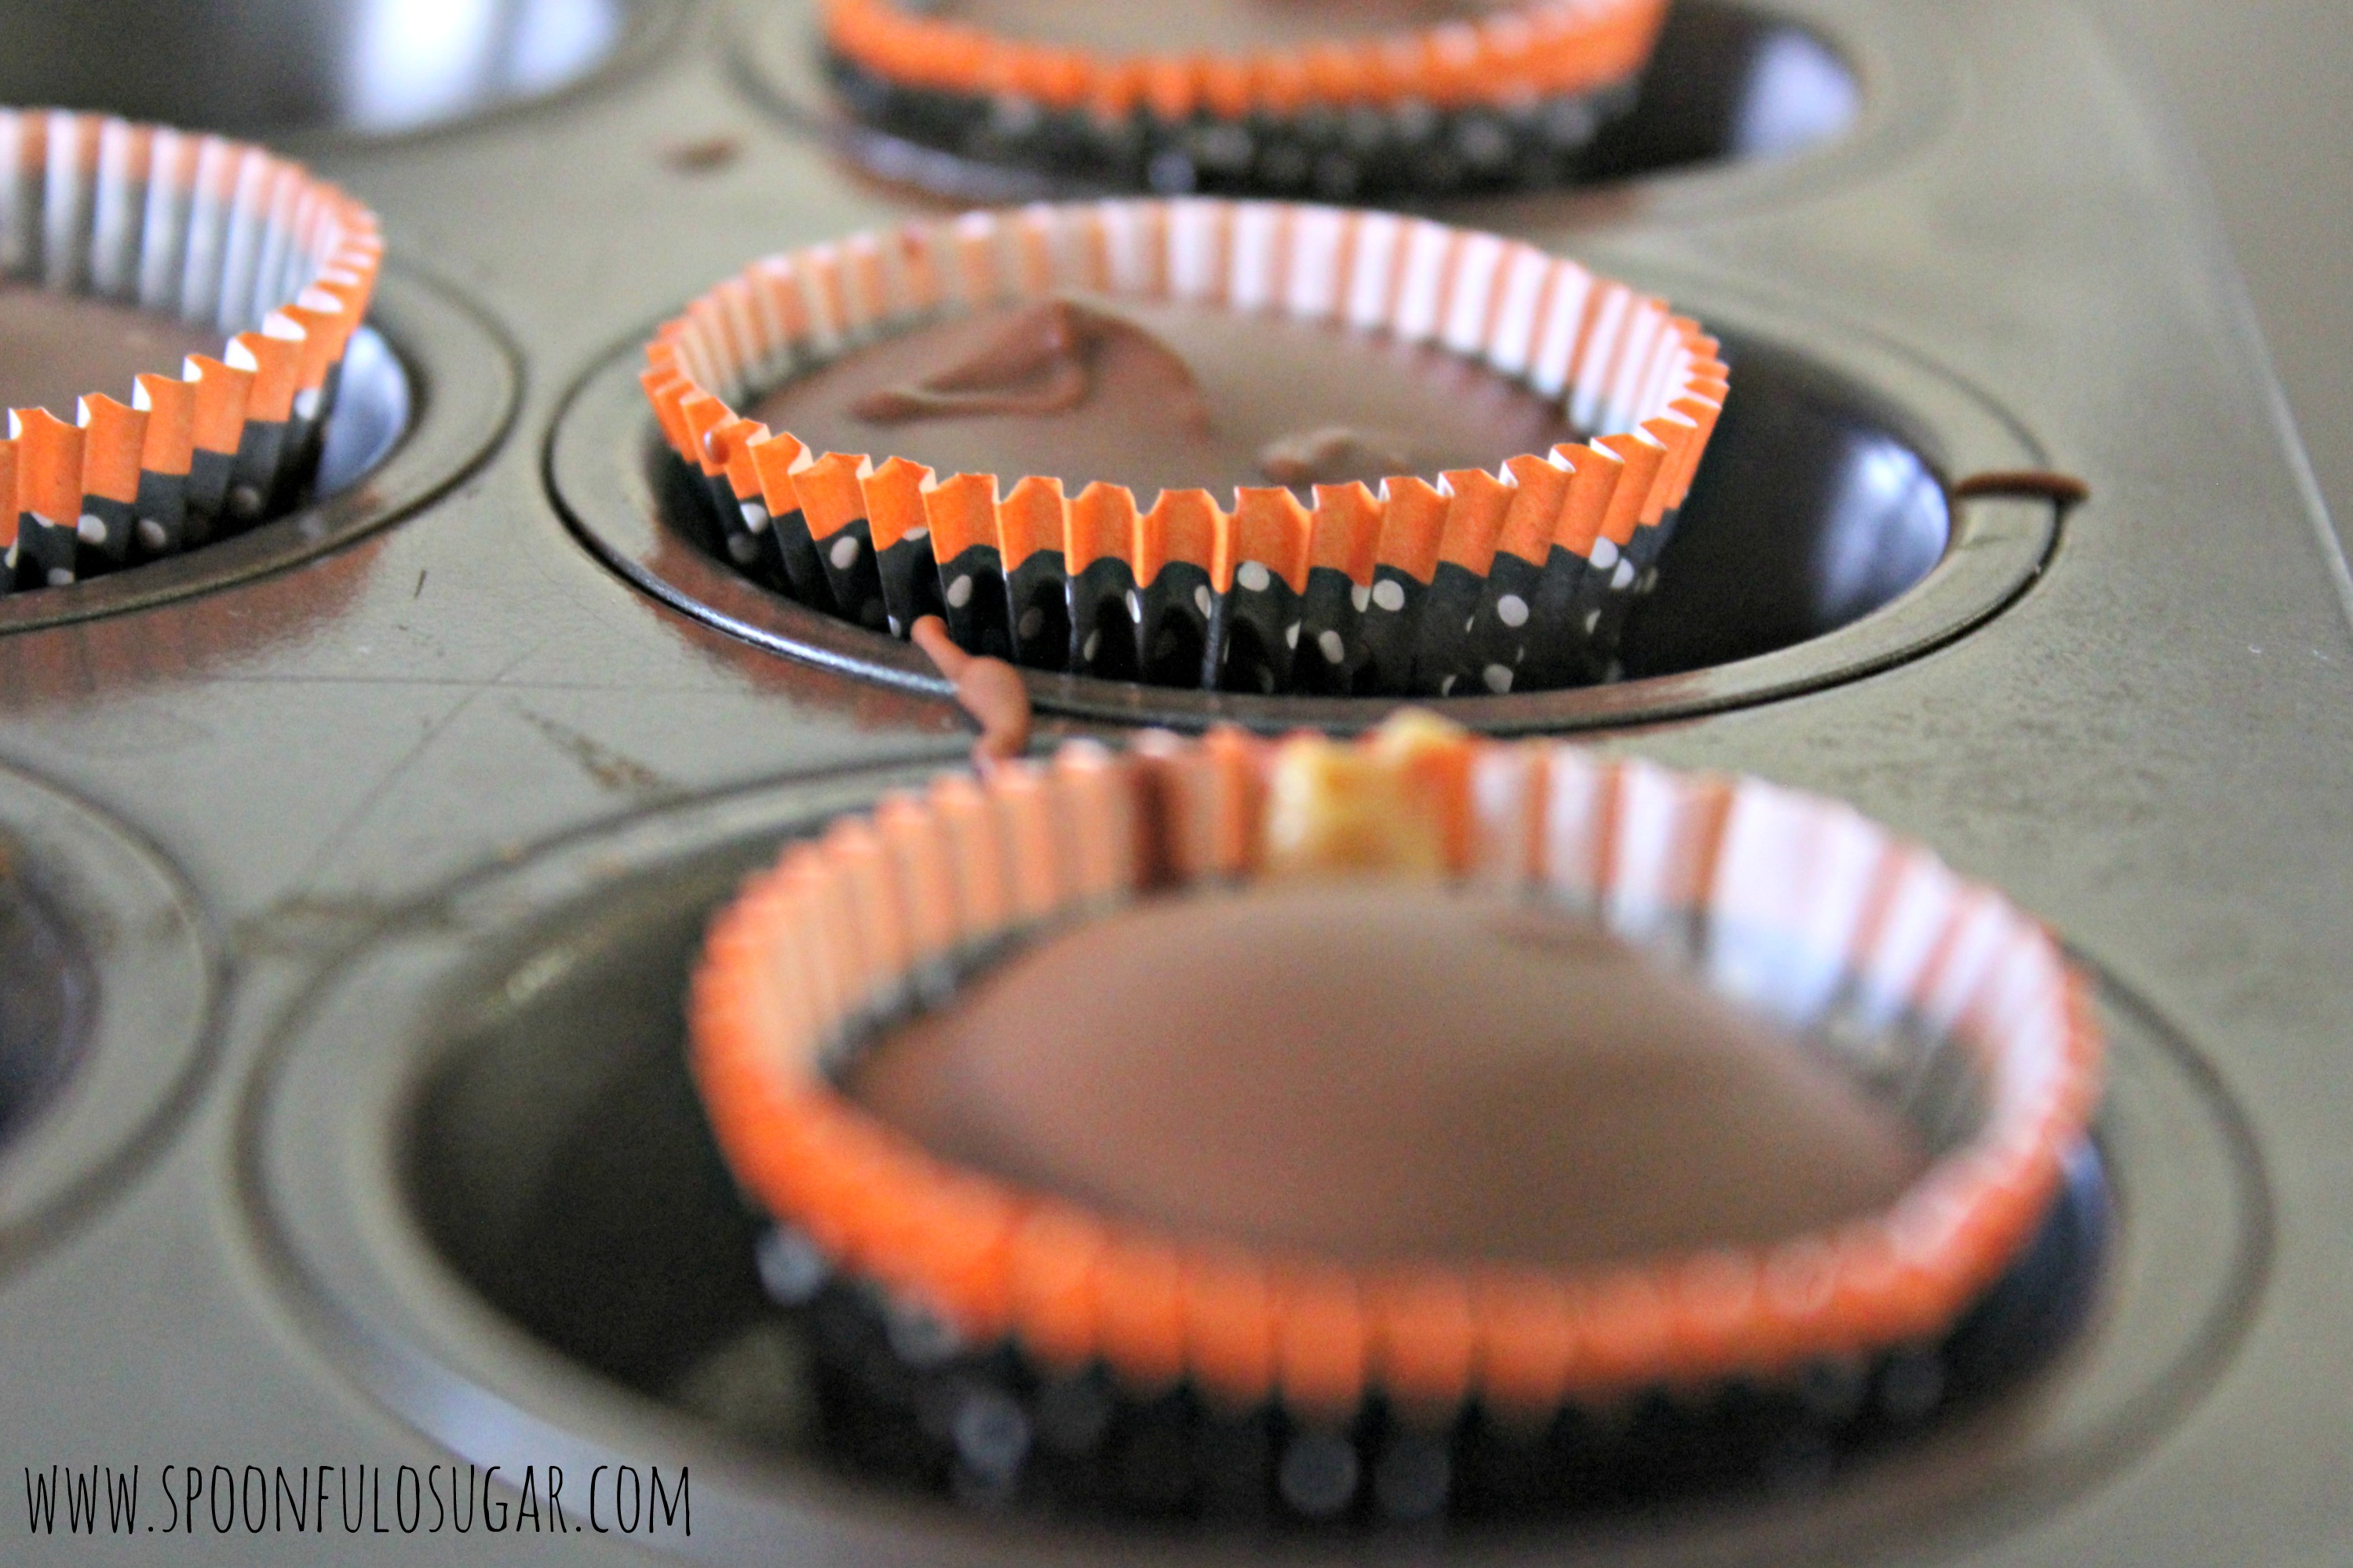
Scoop the chocolate into the cups. I used a teaspoon to spoon and smooth into the bottoms of the liners. Stick in freezer for a couple minutes to set up.
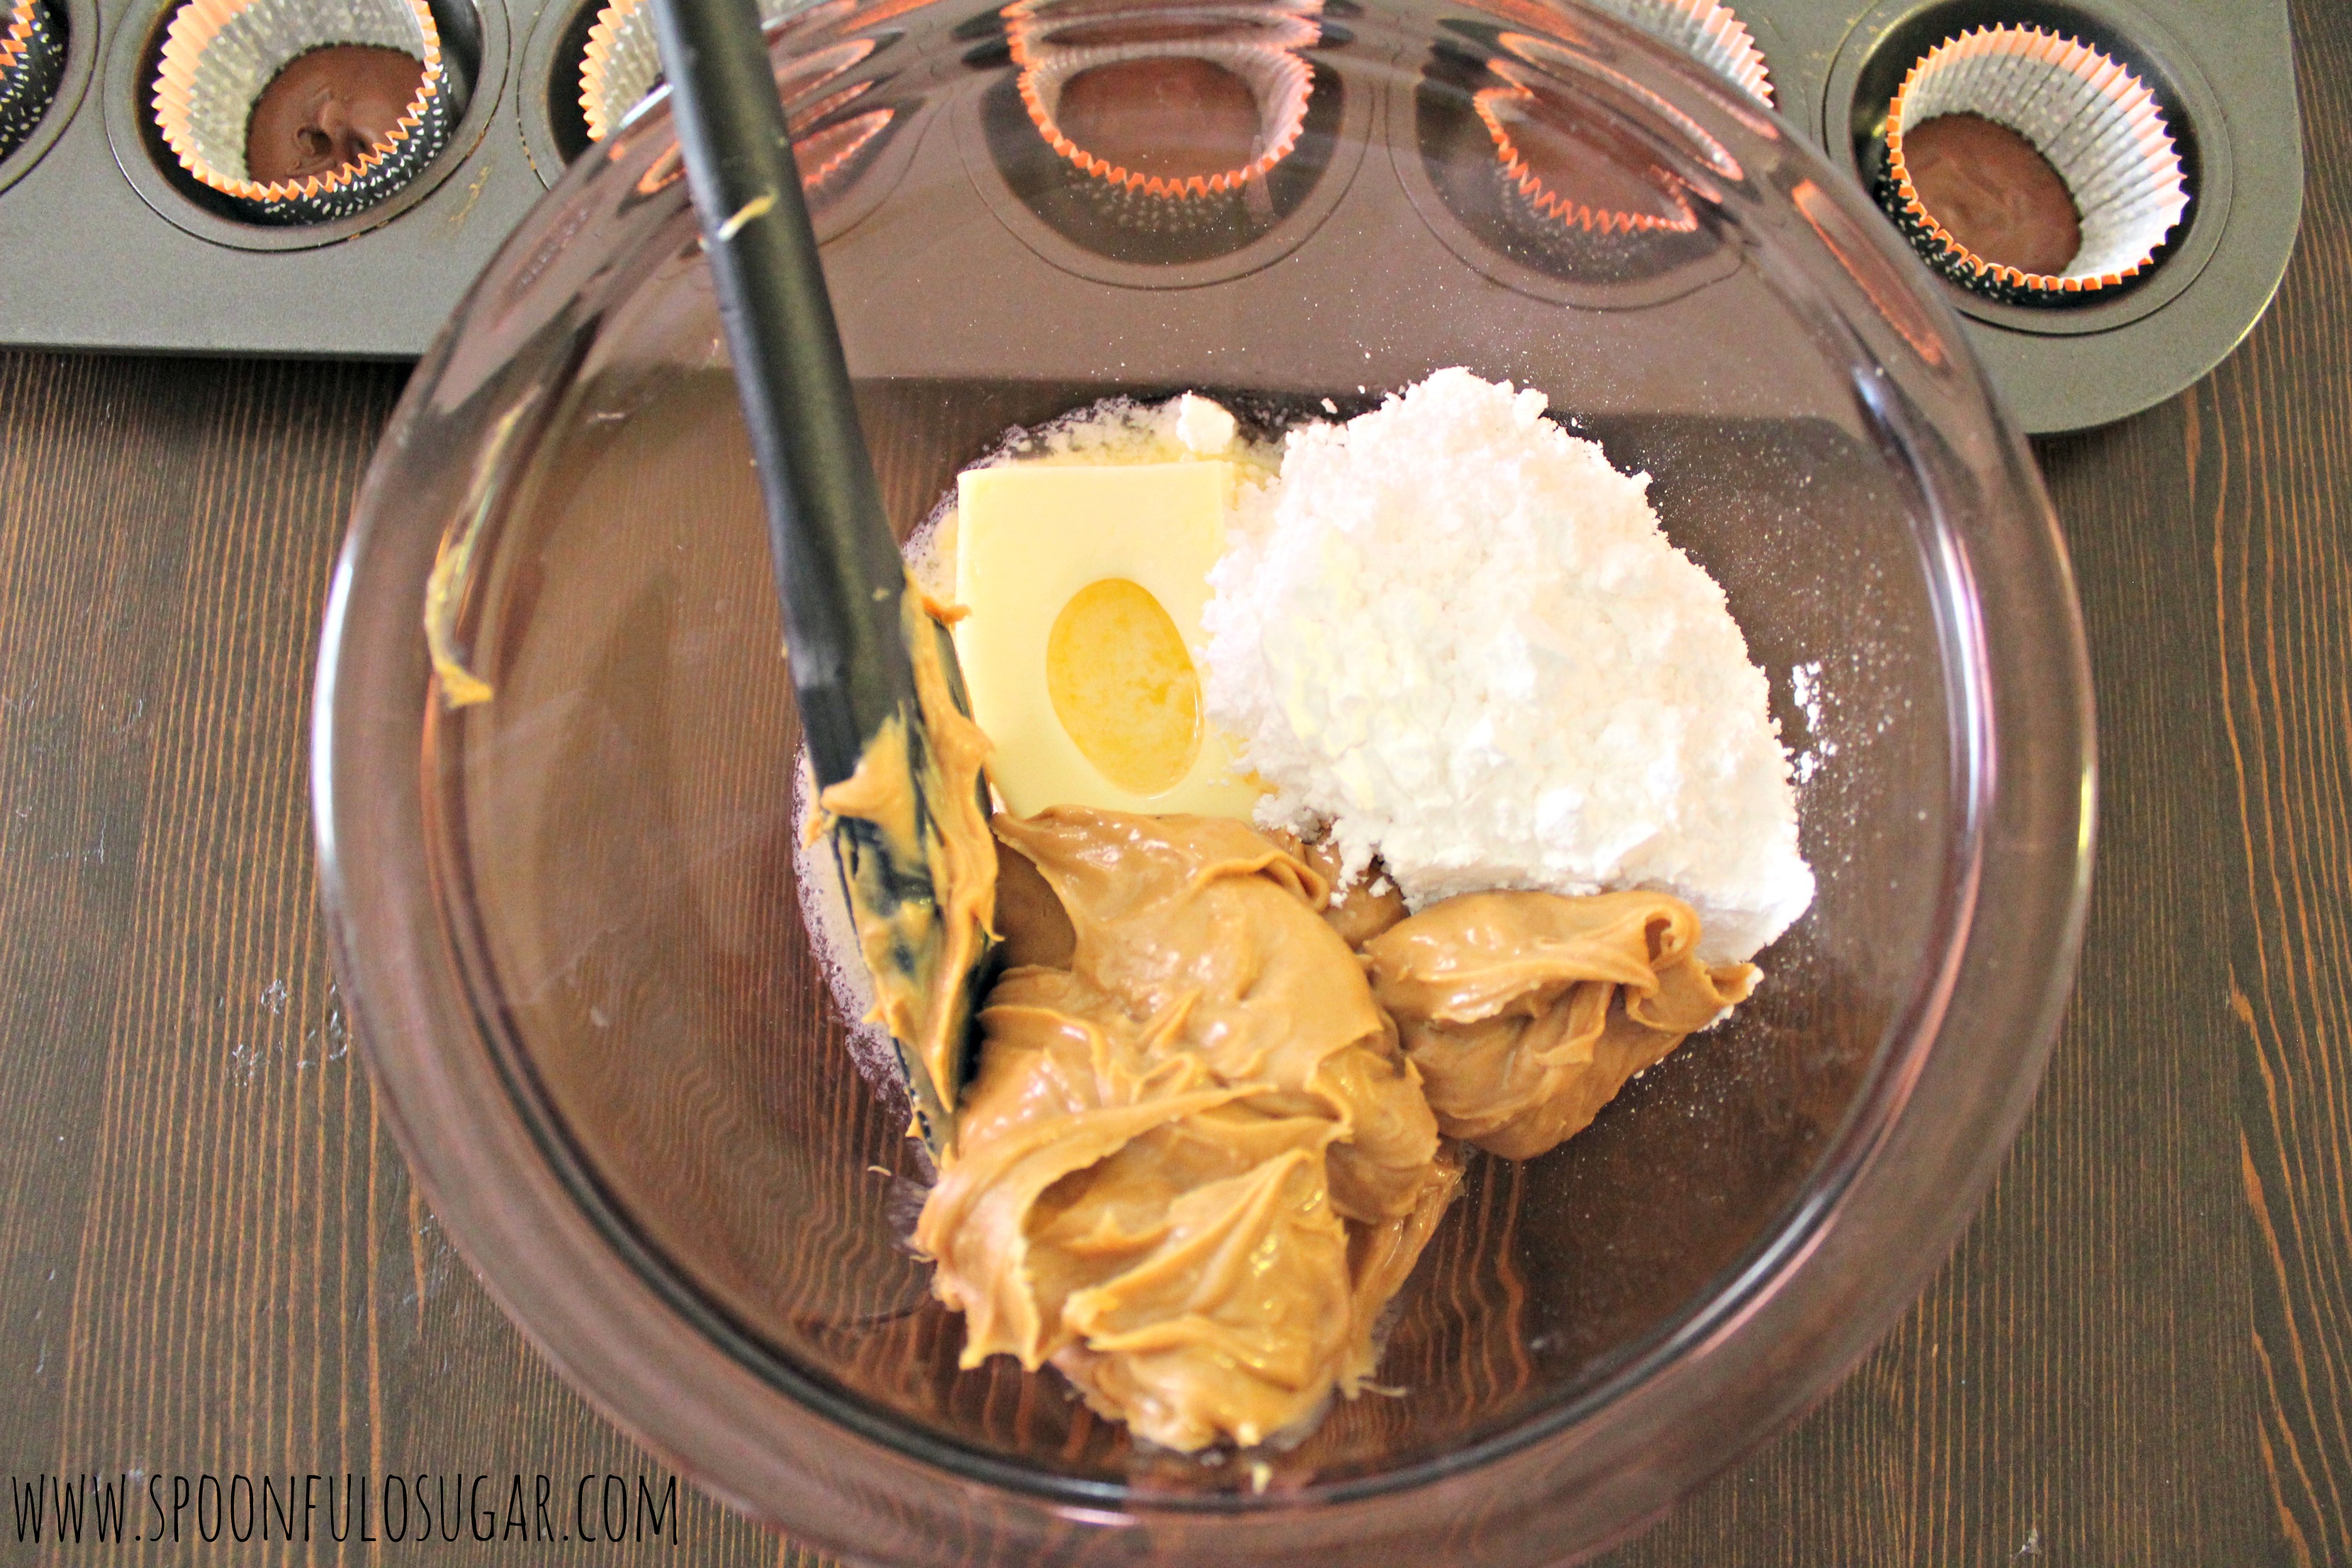
Add the peanut butter, butter, and powdered sugar to a bowl and stir until smooth.
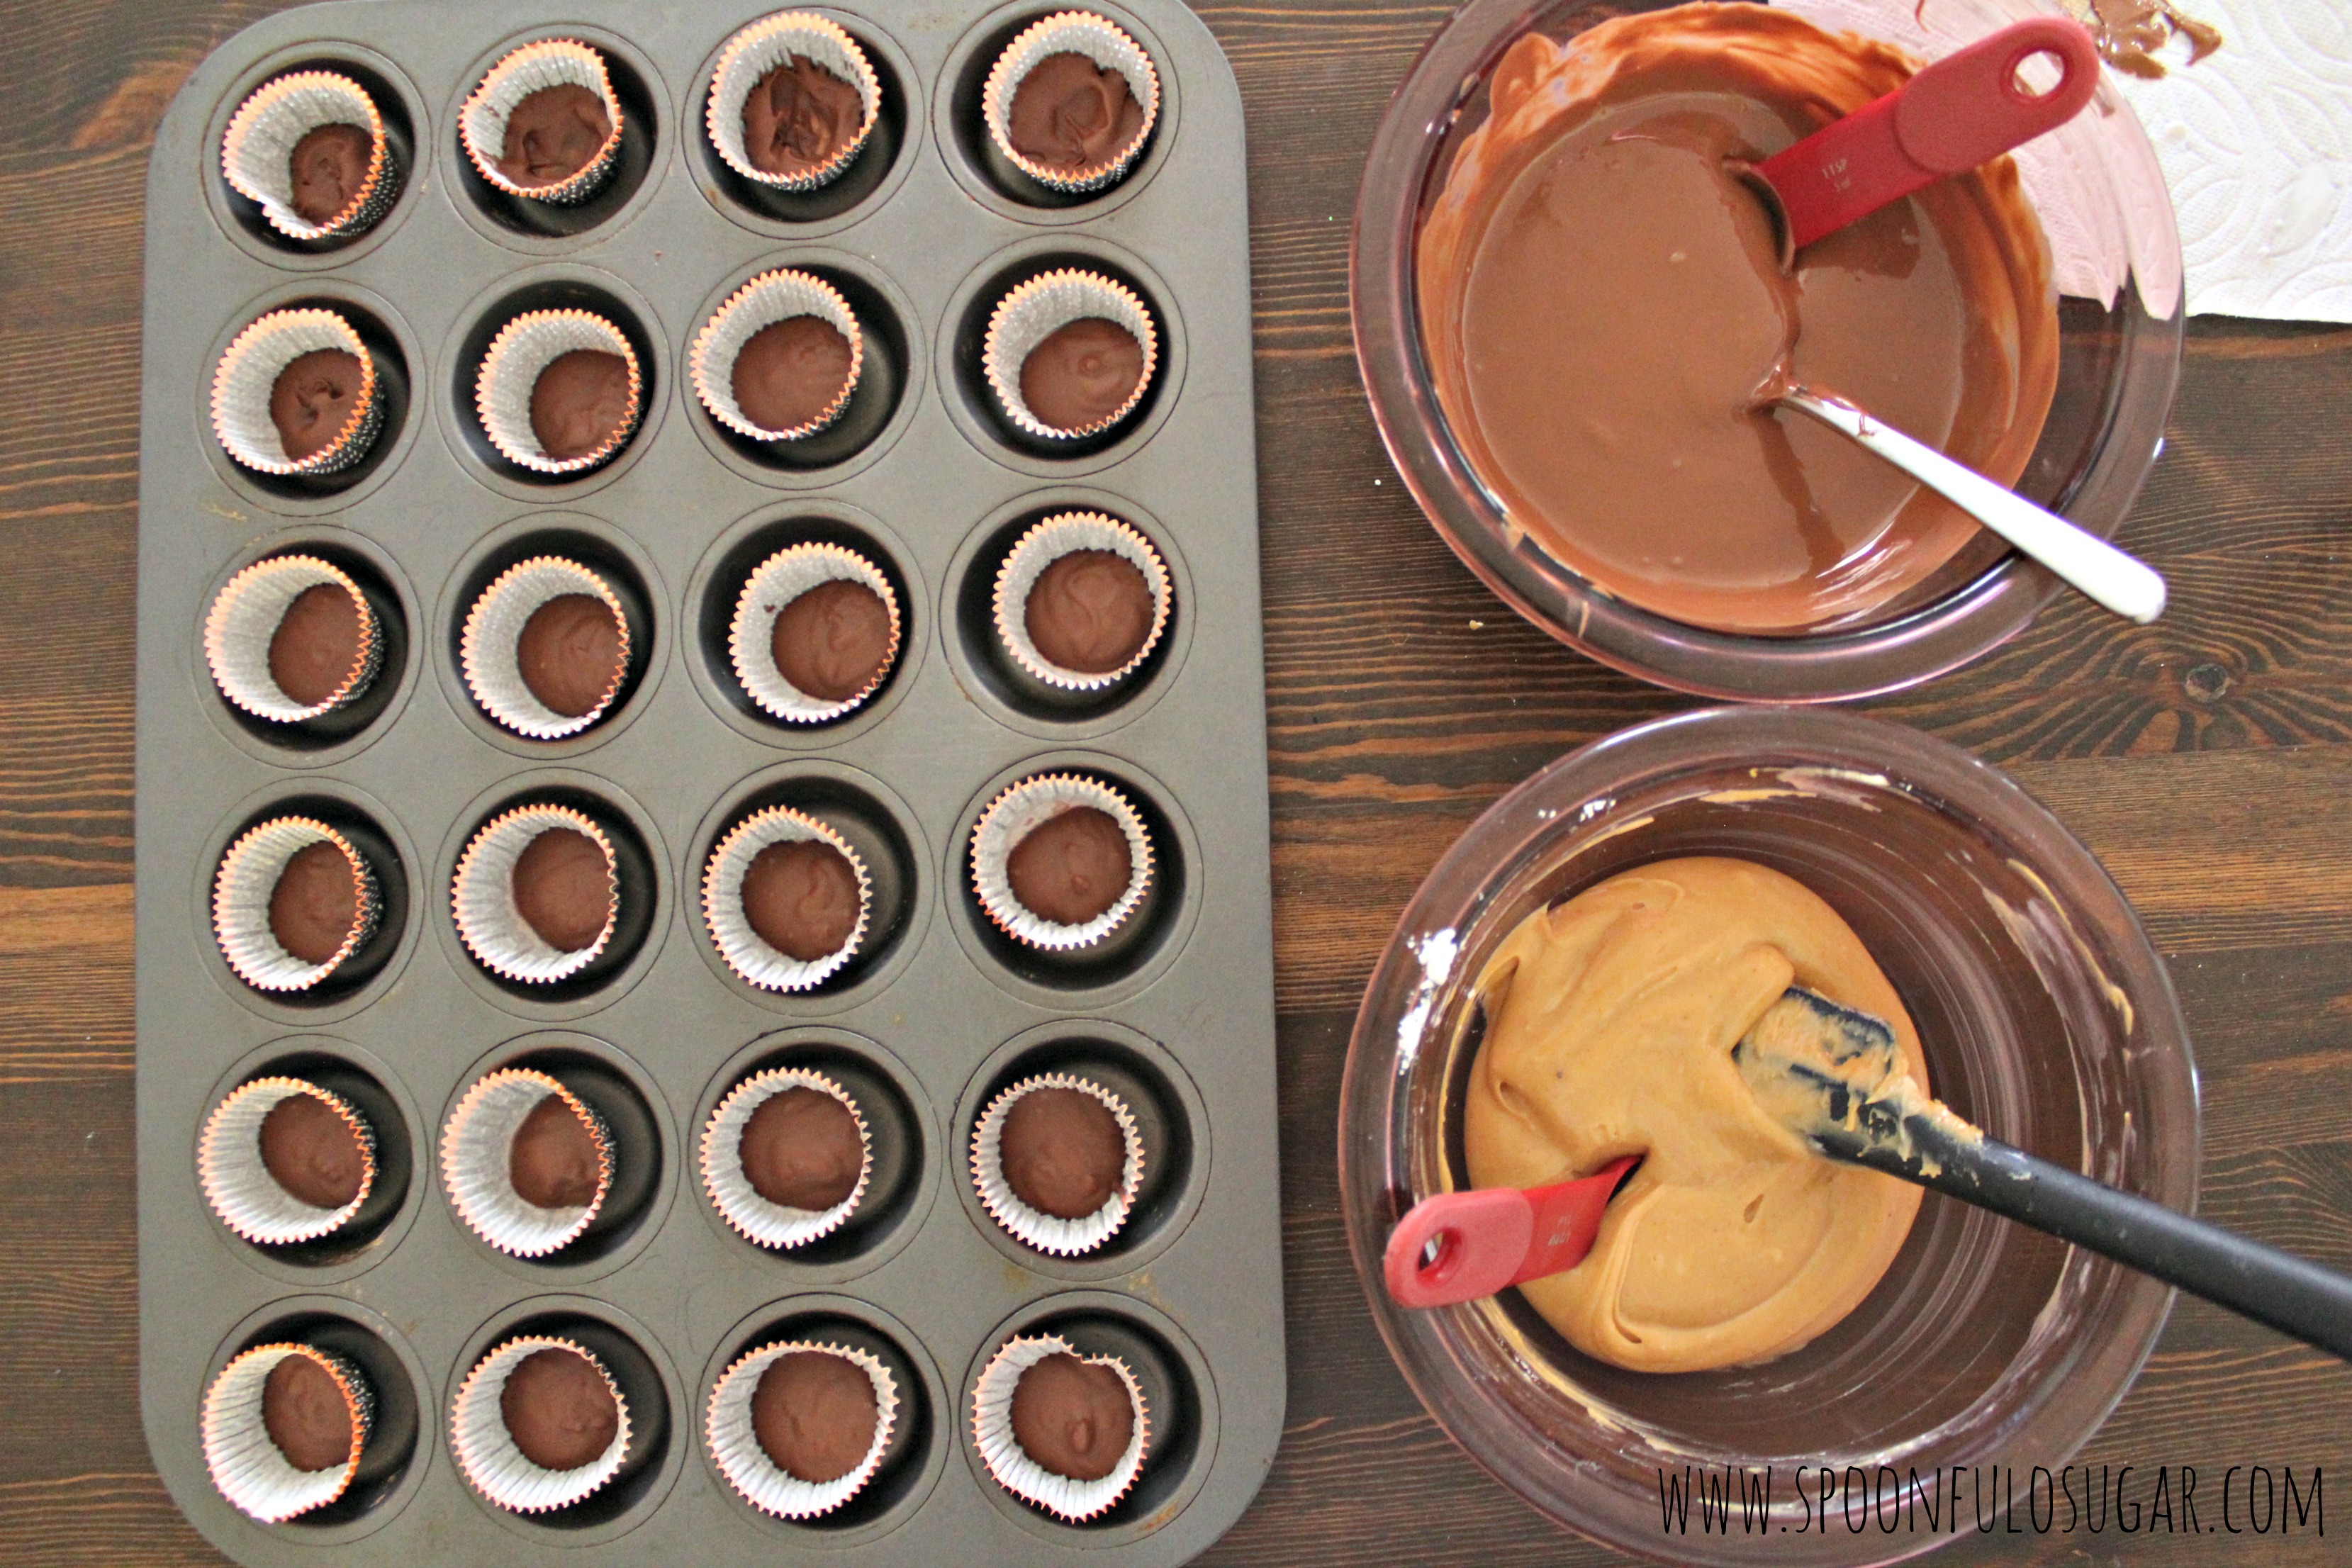
Repeat the melting process with the remaining cup of chocolate chips and tablespoon of shortening.
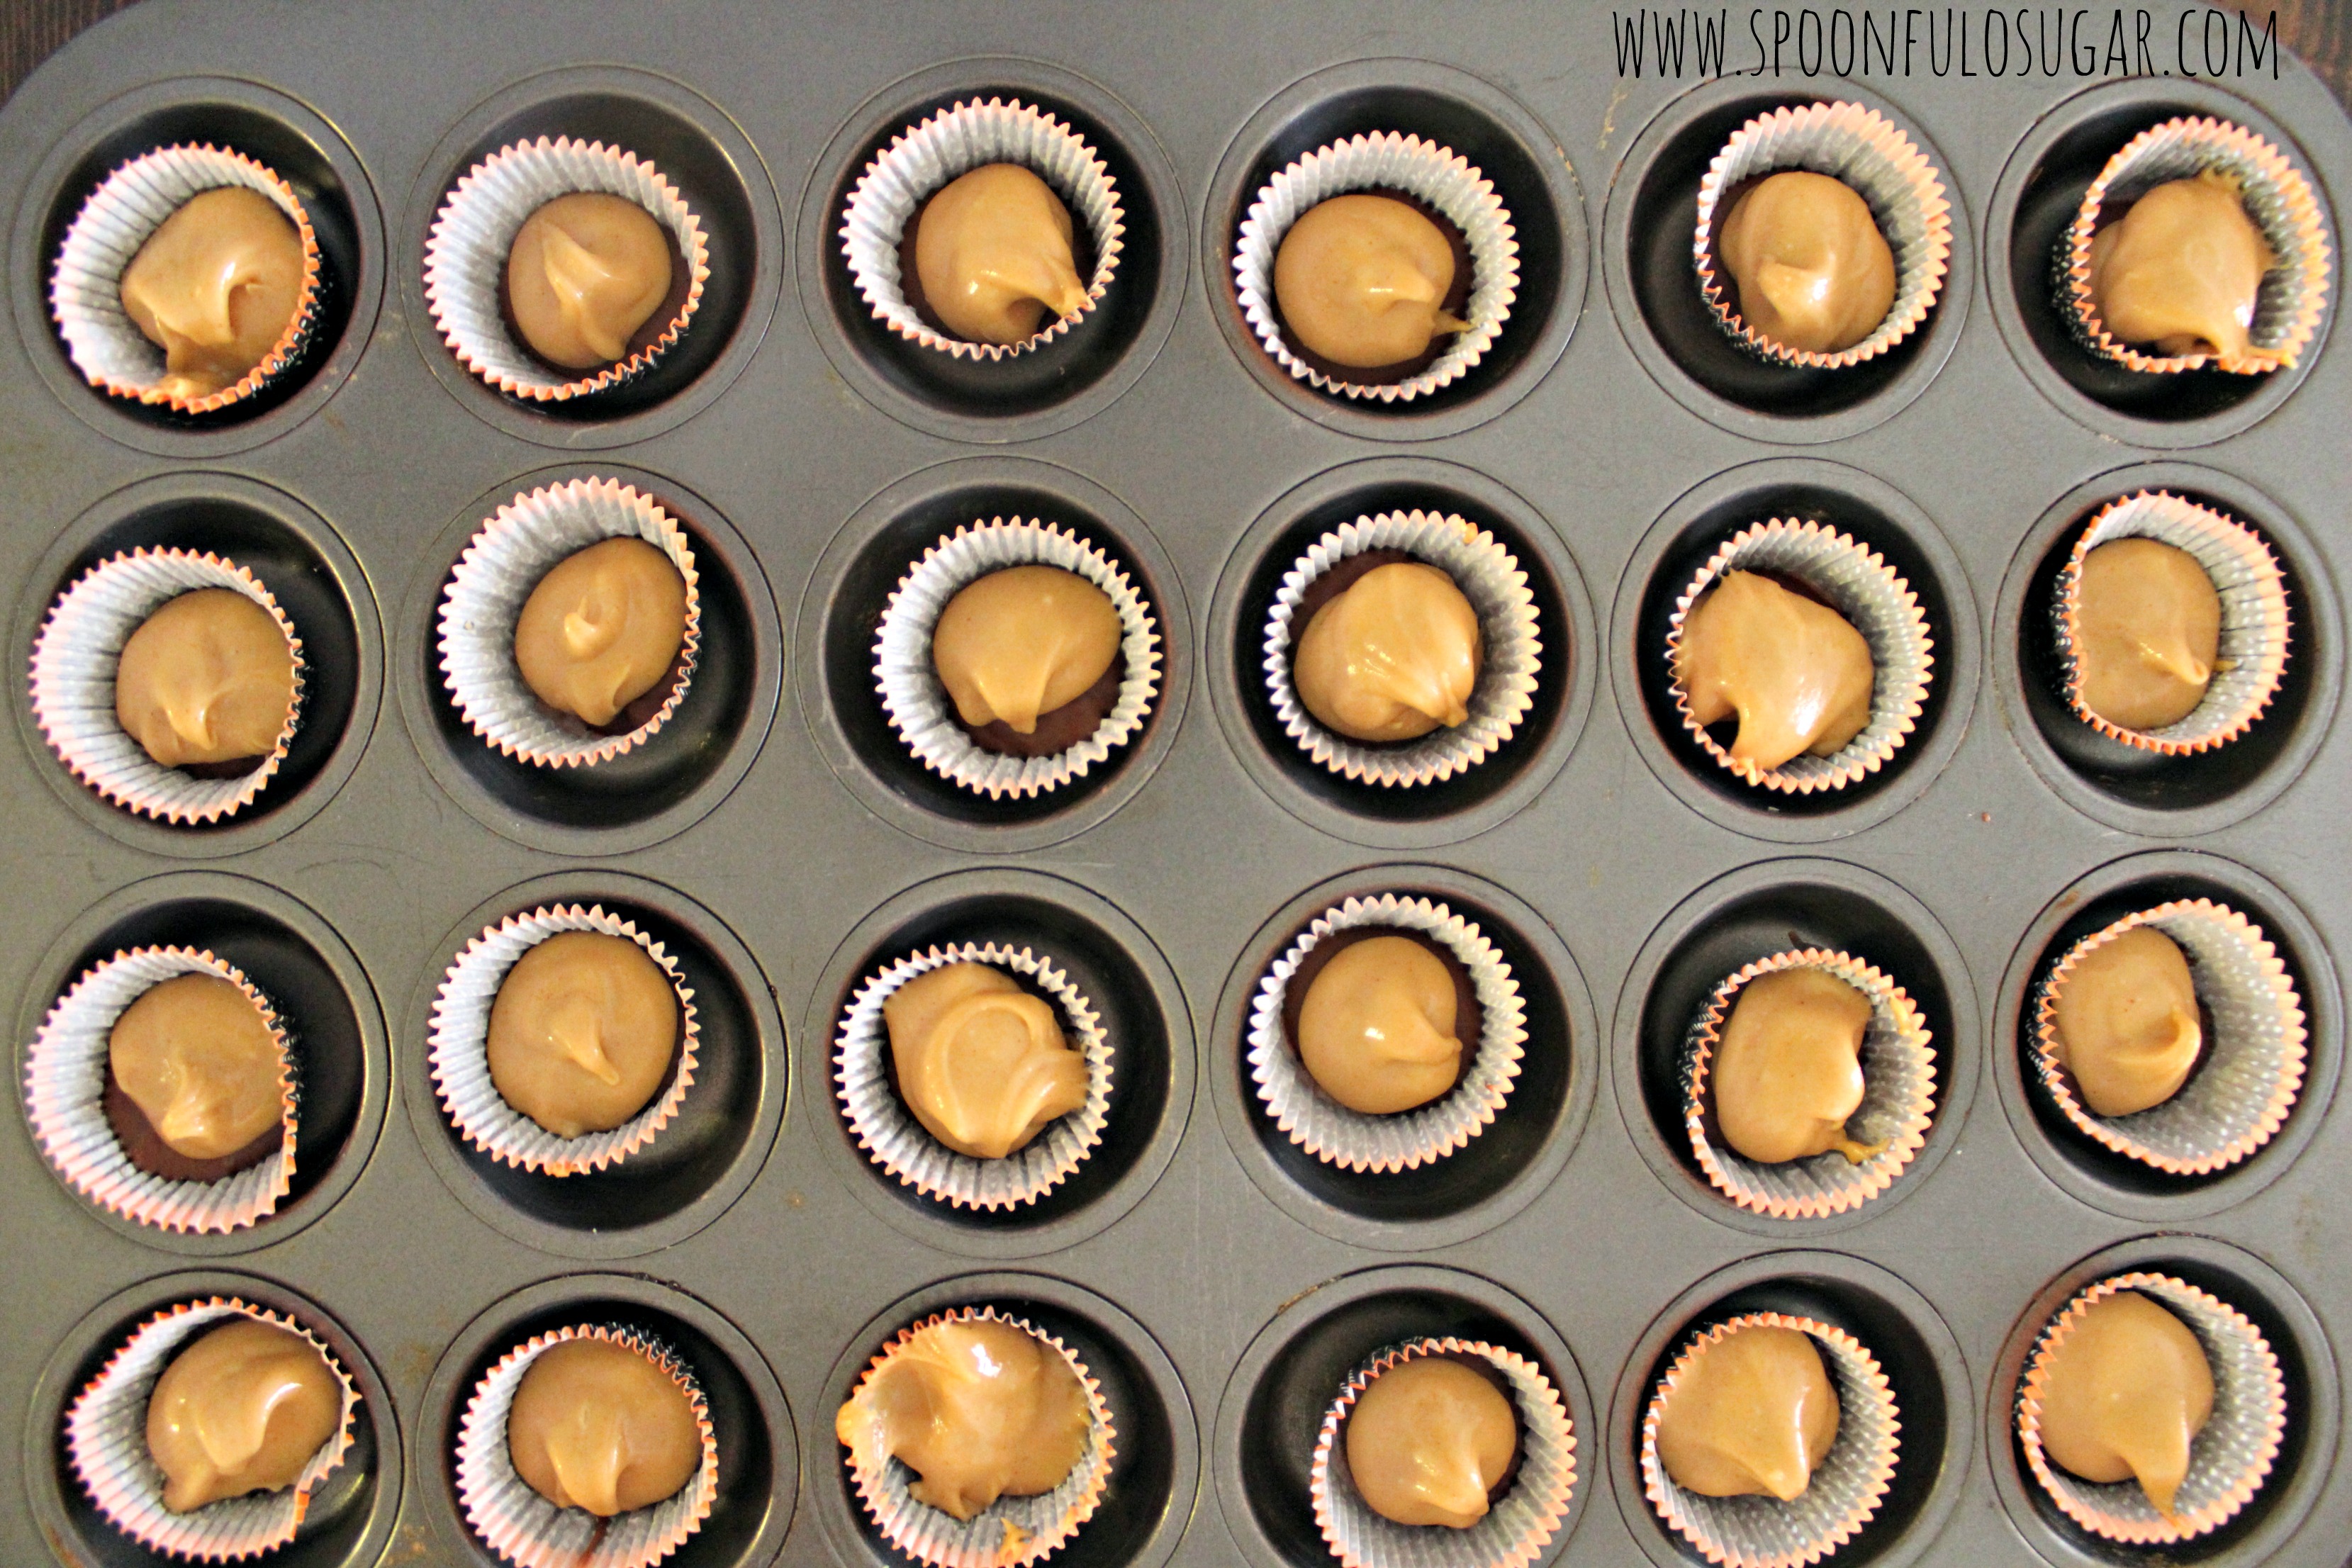
Scoop the peanut butter carefully on top of the set chocolate. I used about a teaspoon in each cup and had a little leftover. Stick in the freezer for a couple minutes.
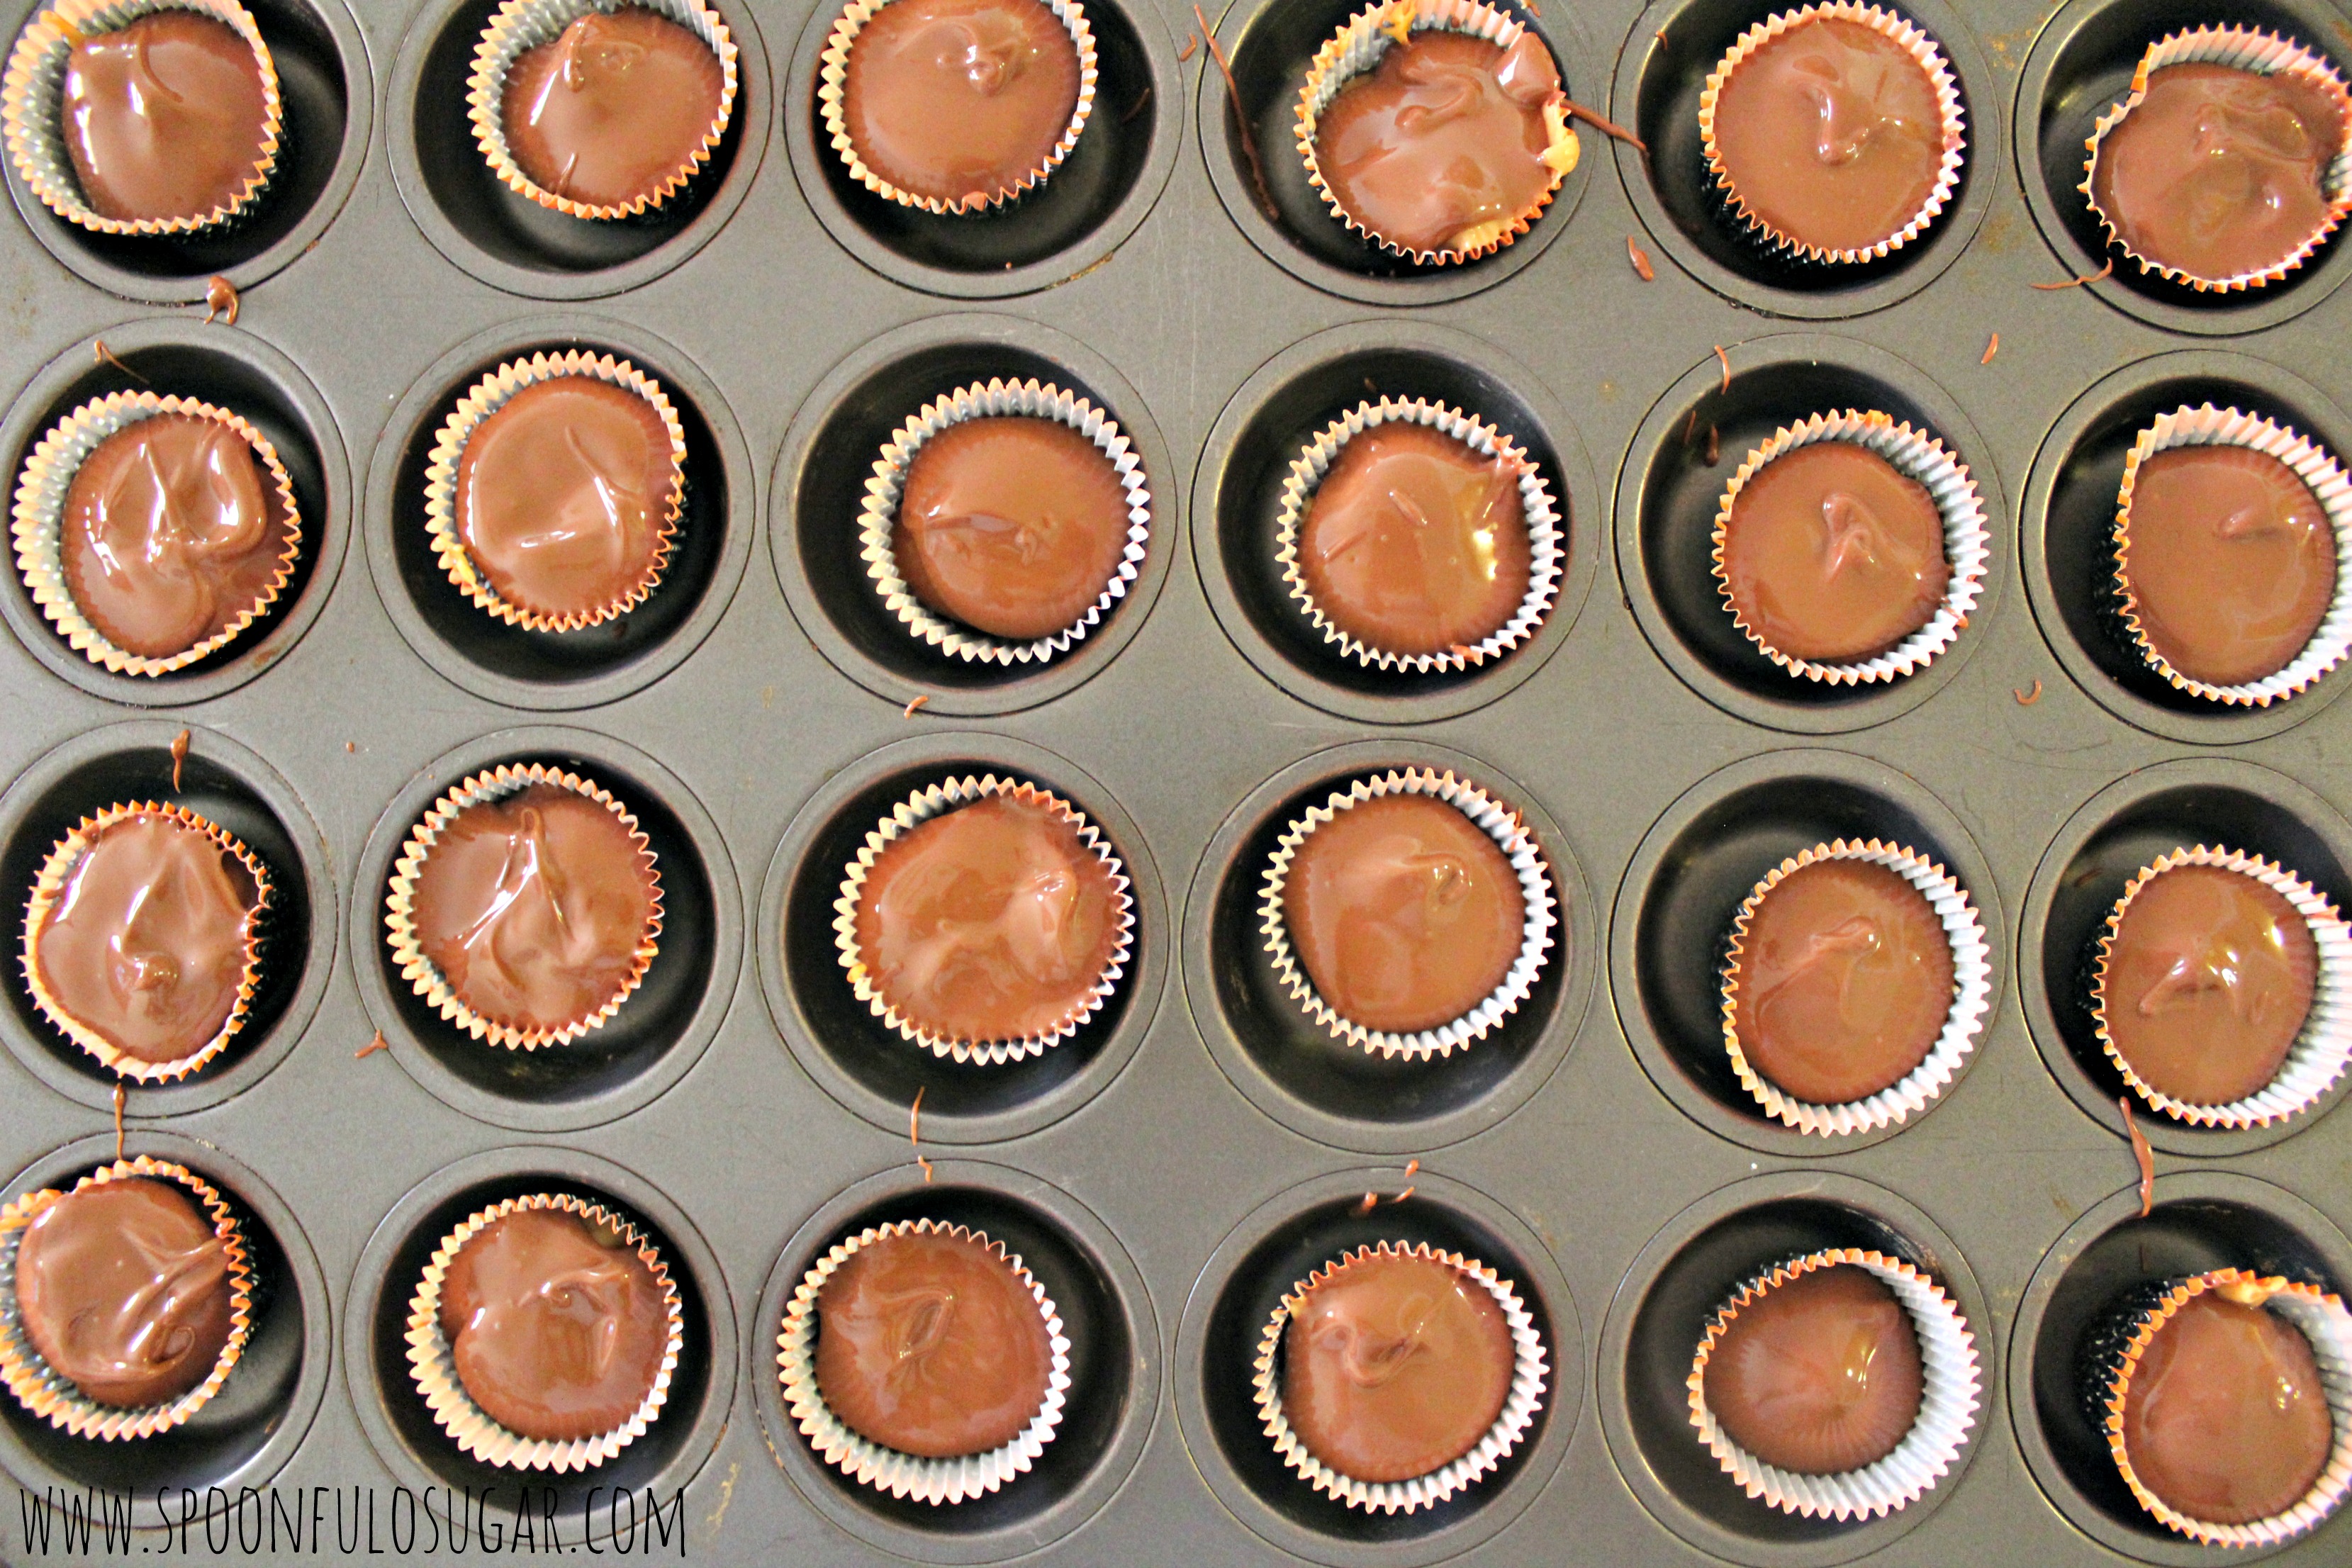
Pour the chocolate over the top and allow to set up completely before eating (this is easily done by sticking in the freezer for about 5 minutes).
Eat up, (peanut) buttercup.