Let’s step out of the kitchen for a bit, it’s time for arts & crafts! I recently made some headbands for our little lady and love how they turned out. They are super easy to make; I made four headbands in about 30 minutes, all while Quinn was watching me from her play mat. I think she likes them!

 Headbands: the best way to prevent strangers from asking you if your daughter is a boy.
DIY Headbands
Materials
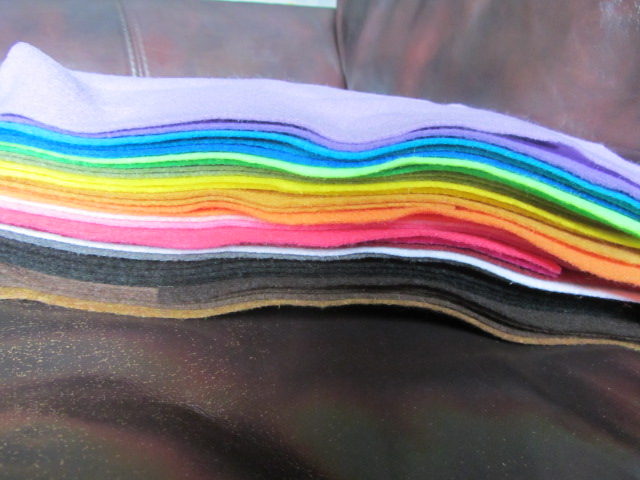
Felt
Elastic (I used a 1/4 inch elastic)
Buttons
Needle & Thread
Scissors
Shapes to trace (I used cookie cutters, but you could just freehand the shapes you want)
Directions
See the pictures below for step-by-step directions.
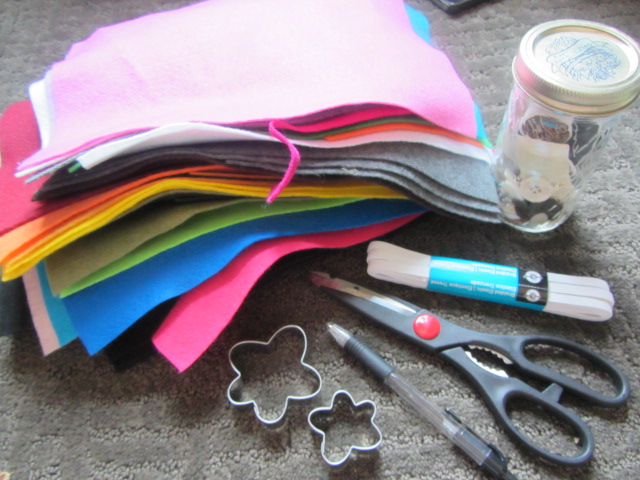
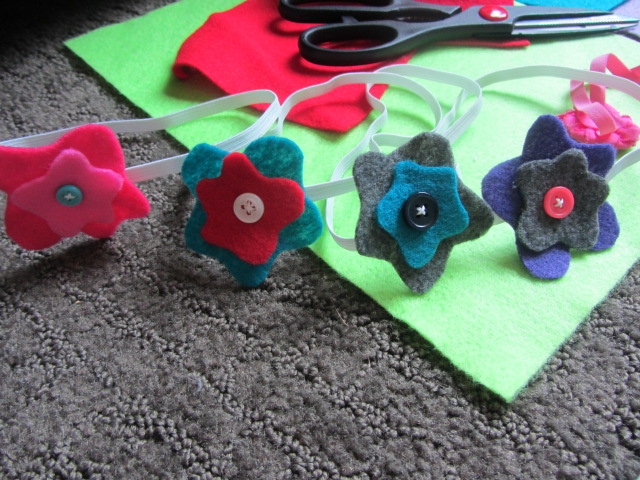
The materials.
I have no idea why I this much felt, but I do.
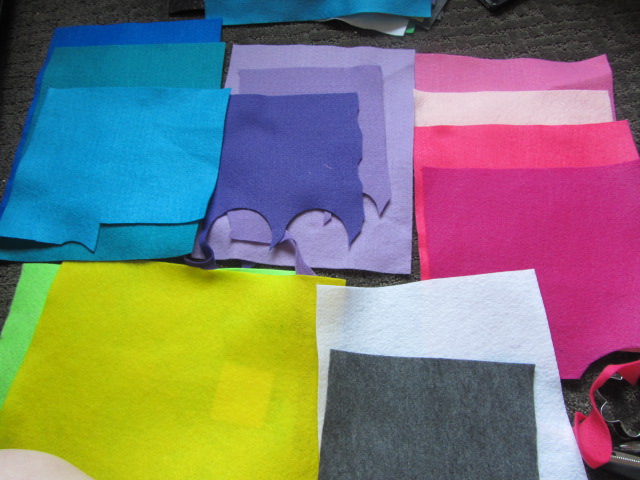
I started by narrowing down the colors that I thought I wanted to use.
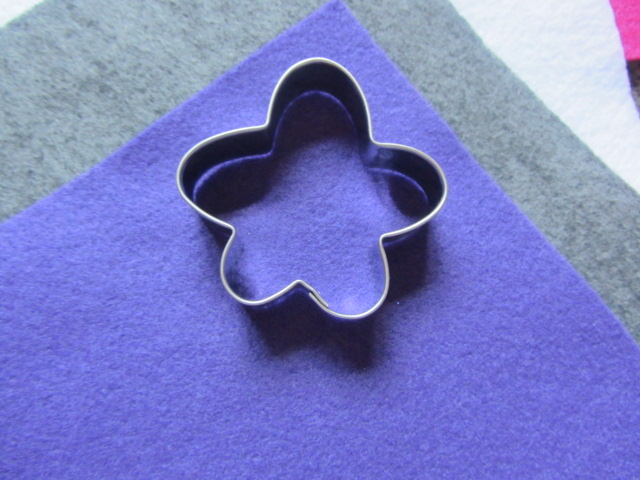
Cut out the desired shapes. I two cookie cutters (one large and one small flower). I traced around the cookie cutter and then used scissors to cut.
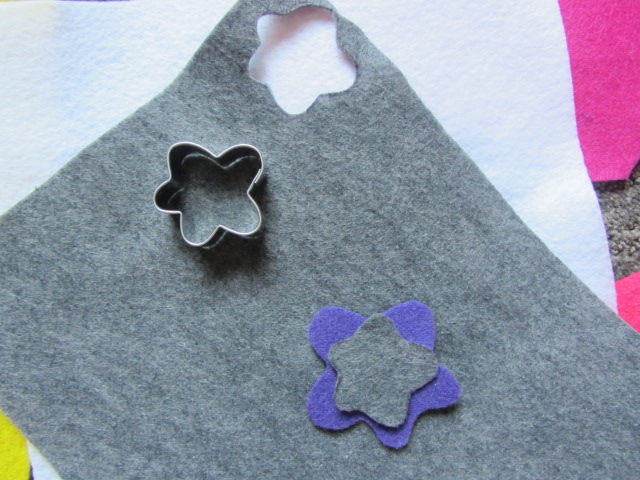
I cut out the smaller flower in a different color, you know-to make it more interesting.
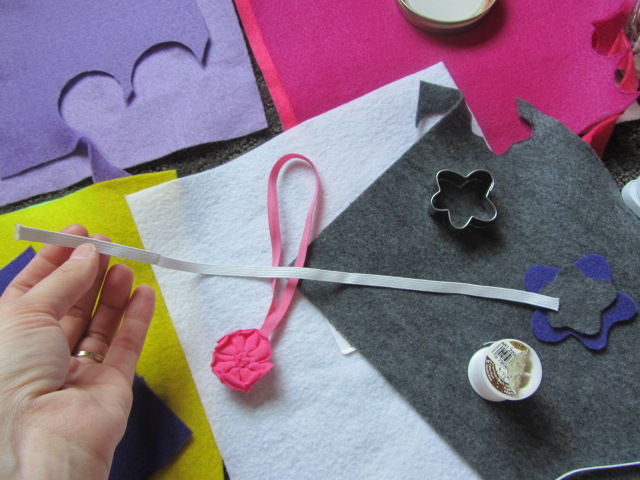
Measure out the elastic by comparing it to a headband that fits your little one.
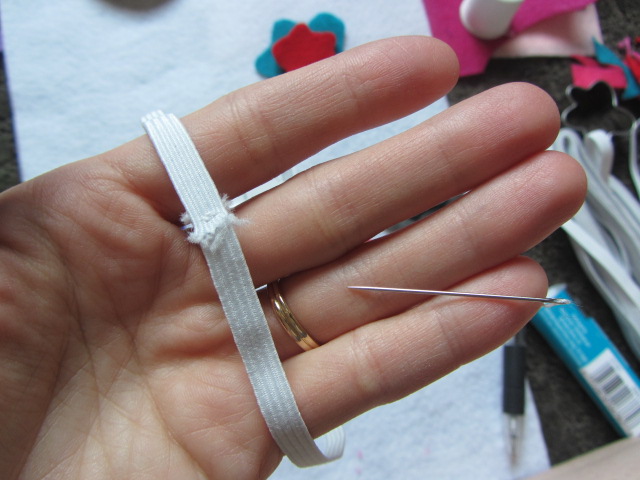
Sew the ends of the elastic together.
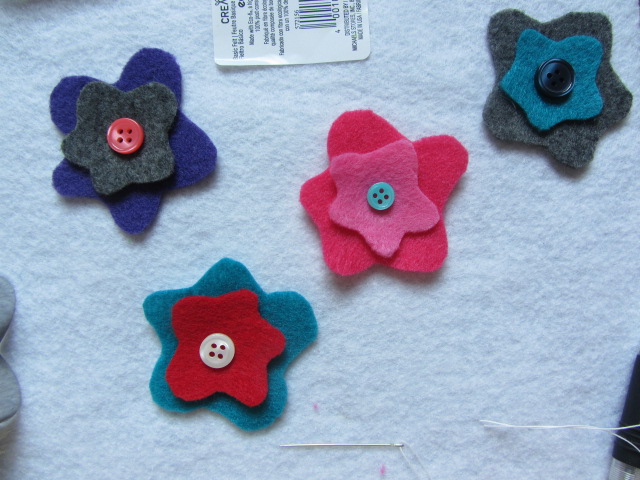
Pick out buttons to go with each felt flower.
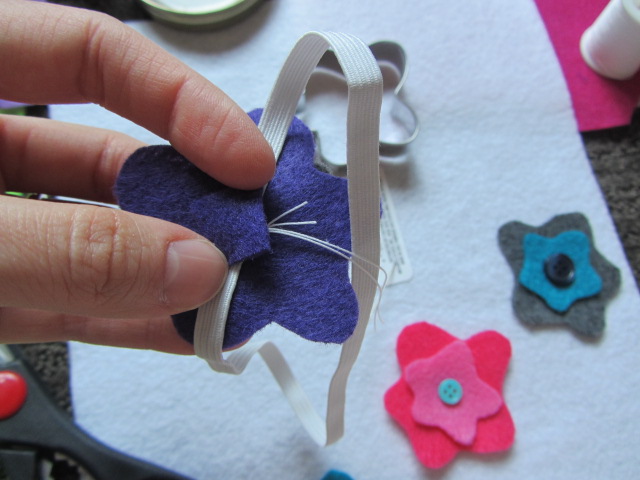
Sew the felt pieces with the button onto the elastic band. Then cut out a small piece of felt to cover up the stitching on the inside of the headband to help protect your little one’s delicate noggin.
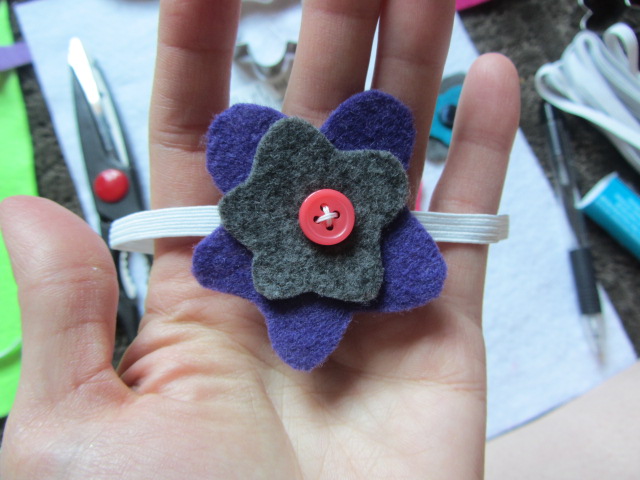
All done!
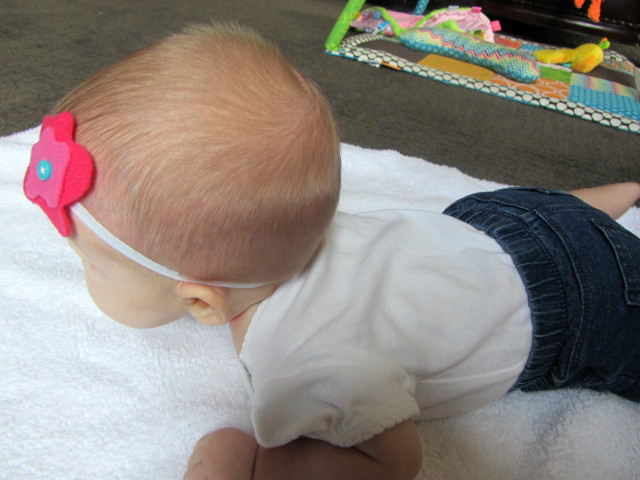
The finished products!
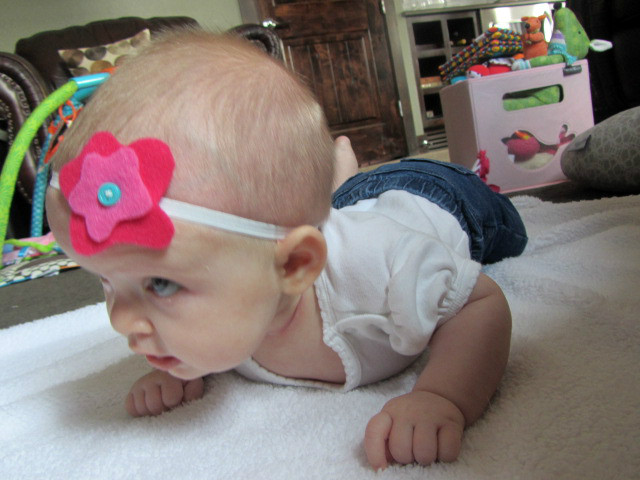
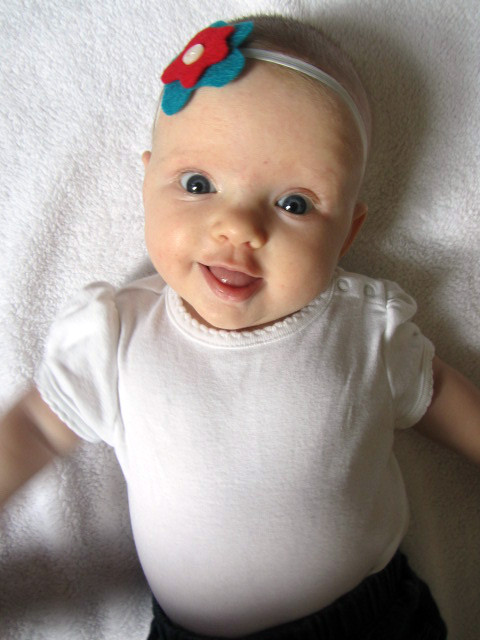
Place headband on baby and admire 🙂
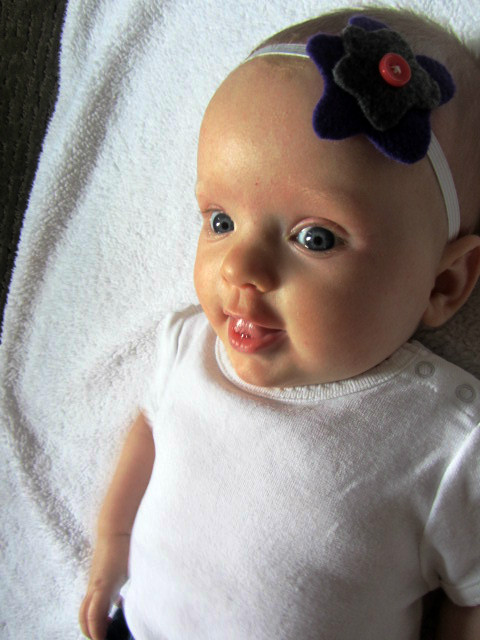
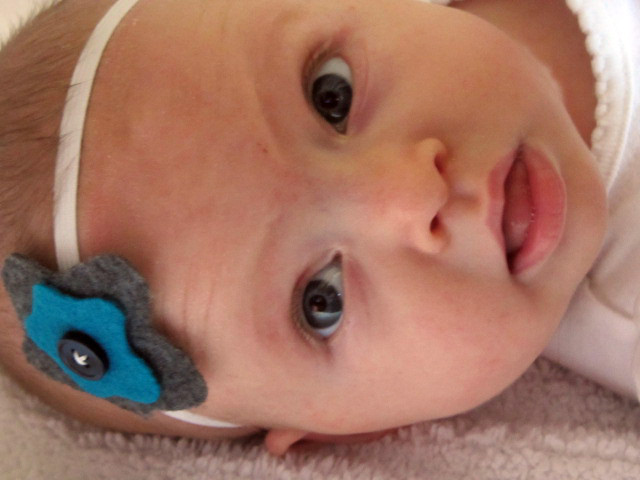
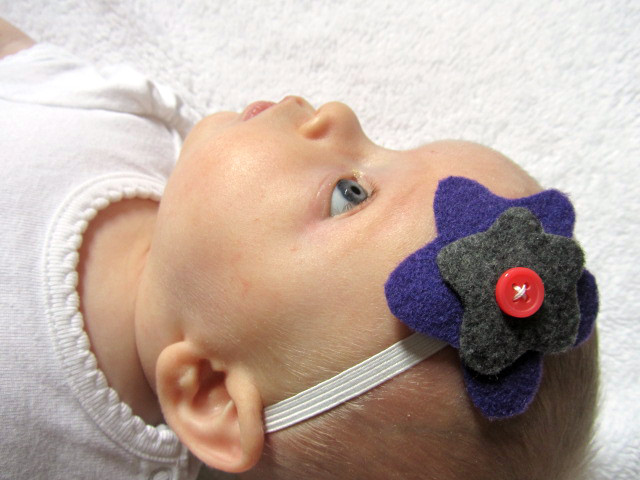
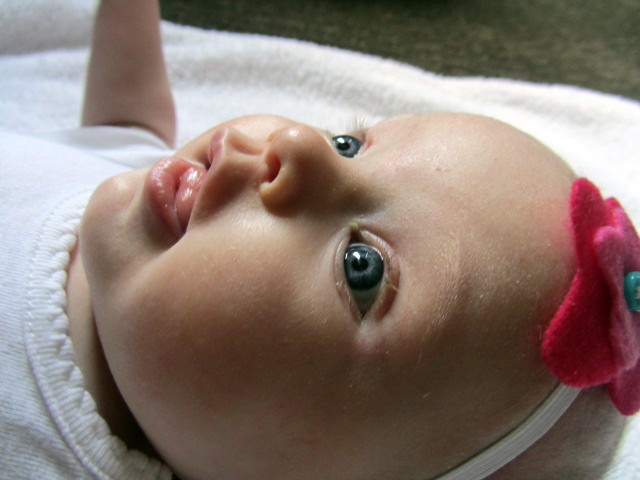
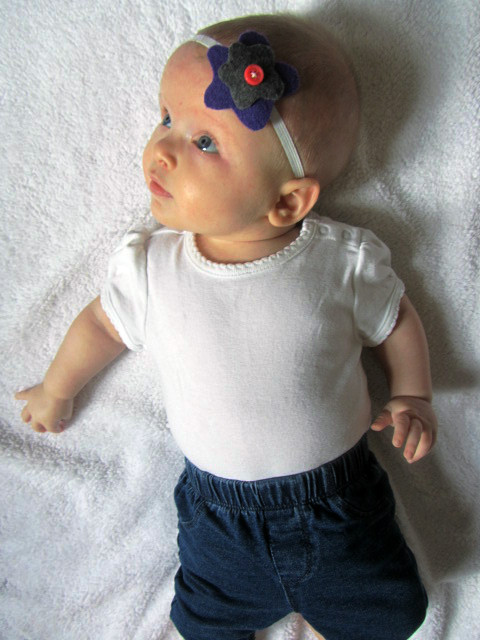
 A big thanks to my Quinny for modeling these headbands. 🙂
Oh Quinn–you are soooo adorable!! And I am NOT prejudice….well maybe a little. 🙂 Thank you Melissa for sharing such a cute craft. Grandma Clark
I think she’s pretty adorable too! She loved seeing you guys the other weekend!!! We did too 🙂