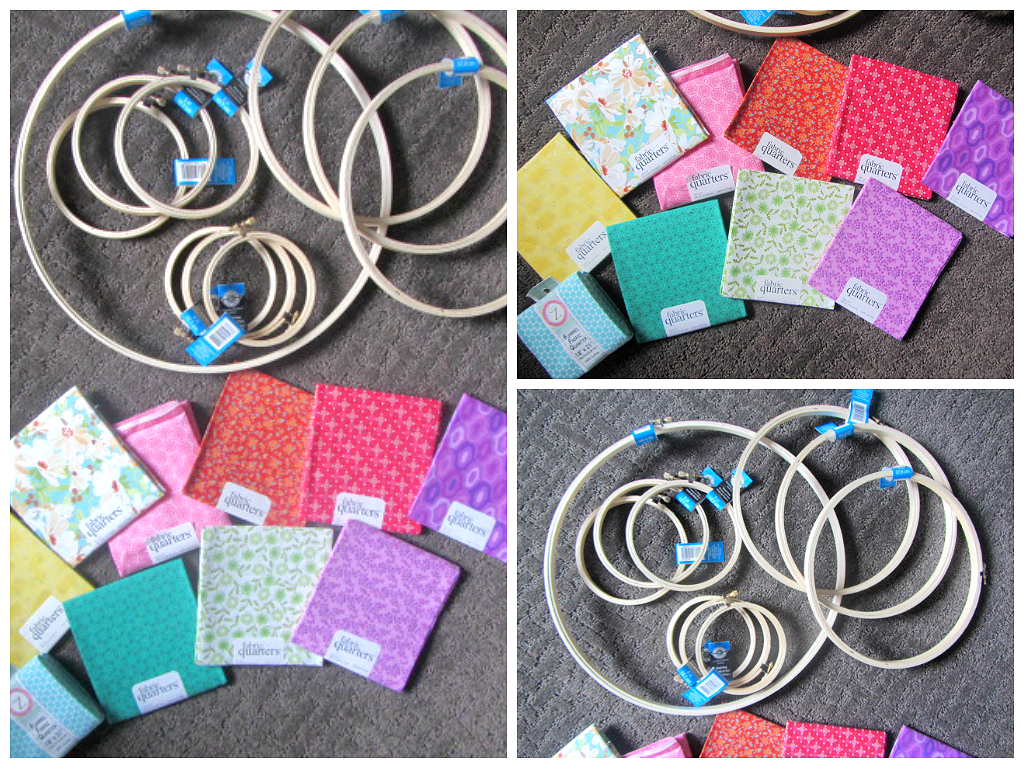
The nursery is almost put together! After the mattress and changing table pad come by mail tomorrow, we’re pretty much finished. So exciting! This has been a fun process, it was my first time decorating a room from top to bottom. I plan on doing a few posts on the process and thought I’d start with a fun one: DIY Embroidery Hoop Wall Art. This project is low in cost and easy to do. I absolutely love the finished product! Since we don’t own our loft, we aren’t allowed to paint the boring white walls in the nursery, so these pops of color add a lot of cheer to the room. In the center of the hoops we will add the wooden letters I painted in magenta that spell out baby girl’s name.
I got this wonderful idea from blogger Aedriel.


All you need are embroidery hoops, fabric, and scissors. I bought 10 hoops in a variety of sizes from Michaels. The fabric I picked out was from JoAnn Fabric, I bought 10 Fabric Quarters on sale for a total of $17.72.
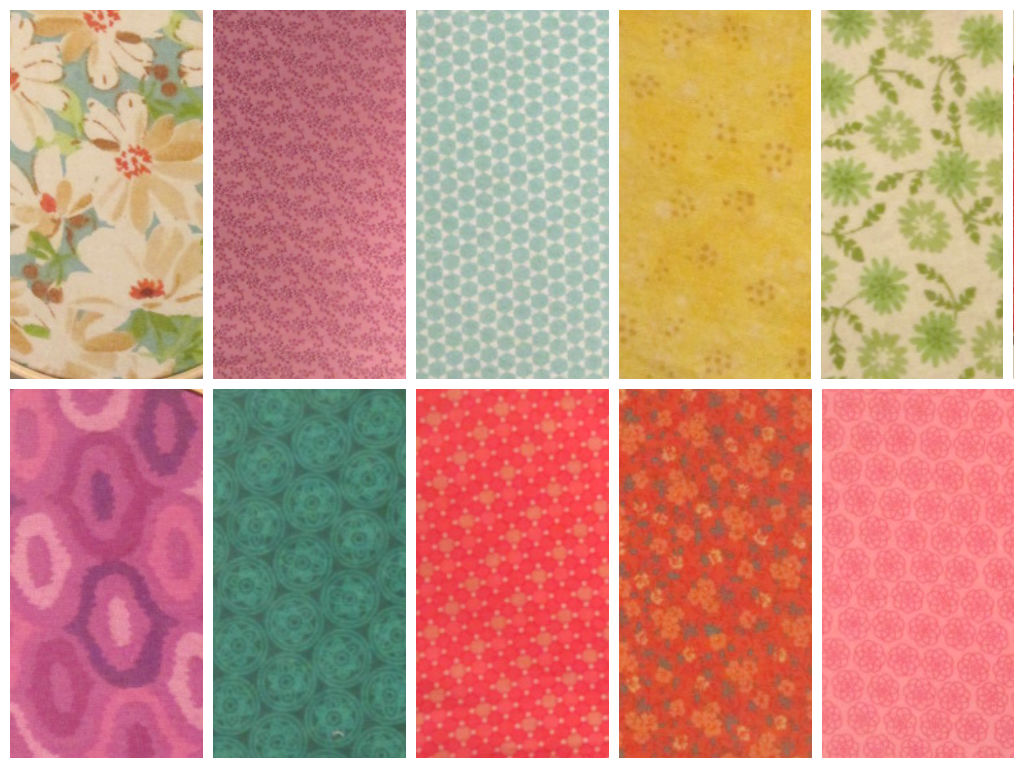
 Here is a closer look at the fabrics I picked out.
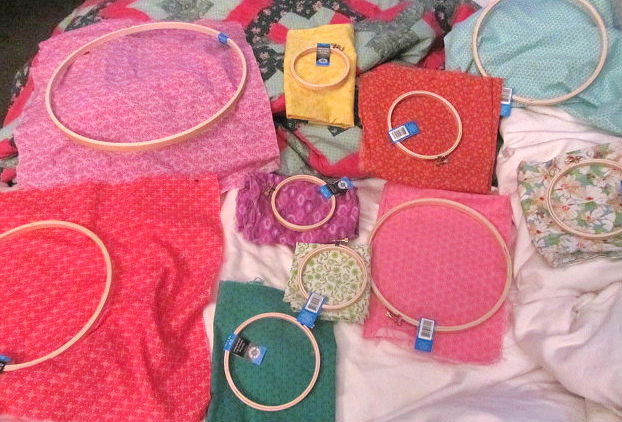
 Lay out the fabrics and pick which size hoop you want with each fabric.
 Take a hoop apart and insert the fabric against the larger circle. Press the small circle into the large circle to create a tight surface with the fabric. Tighten the hoop by the screw on top. Now cut the fabric around the edge of the hoop to finish. Repeat the process with each hoop.
 I used my handy husband to hang the hoops.

 Not much longer and her name will be on that wall and she will be cooing in that crib…I CAN’T WAIT!!!!

That is awesome Melissa–so cute!! I am so glad you could take time off to make some adorable decorations for ‘Peanuts’ room. This grandma is very anxious–I better get back to crocheting!!
Thanks 🙂 They were fun to make, I’m really putting Pinterest to good use these days! Happy crocheting to you!